Noah Day 5: God’s Rainbow Promise
You may notice the HUGE list of materials for this lesson. That’s because I’m listing all the possible activities that I wanted to include with rainbow colors. We didn’t do all these activities for her lesson, but have done them all at some point. I wanted to list them all because they would all go with the lesson, so you can pick and choose what seems best for you. We did 3 of them in one day, and that was A LOT. I’ve even spread a lesson like this out over 2 days before.
- Materials:
- Children’s Bible with illustrations
- cd, flashlight, sheet of white paper
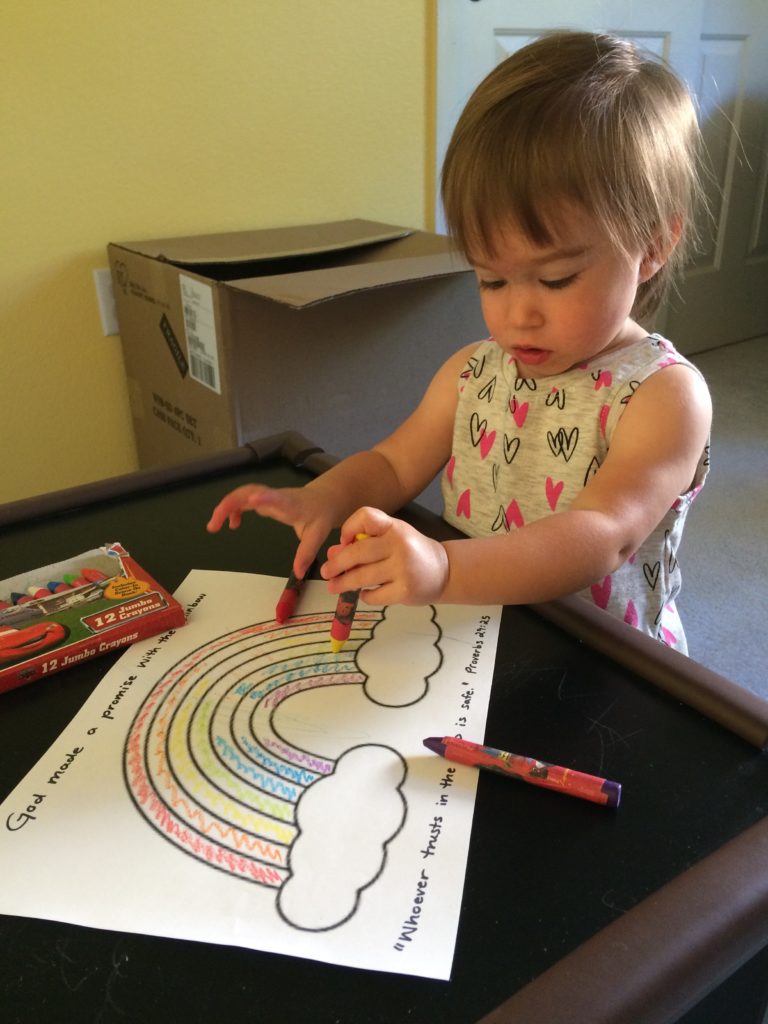
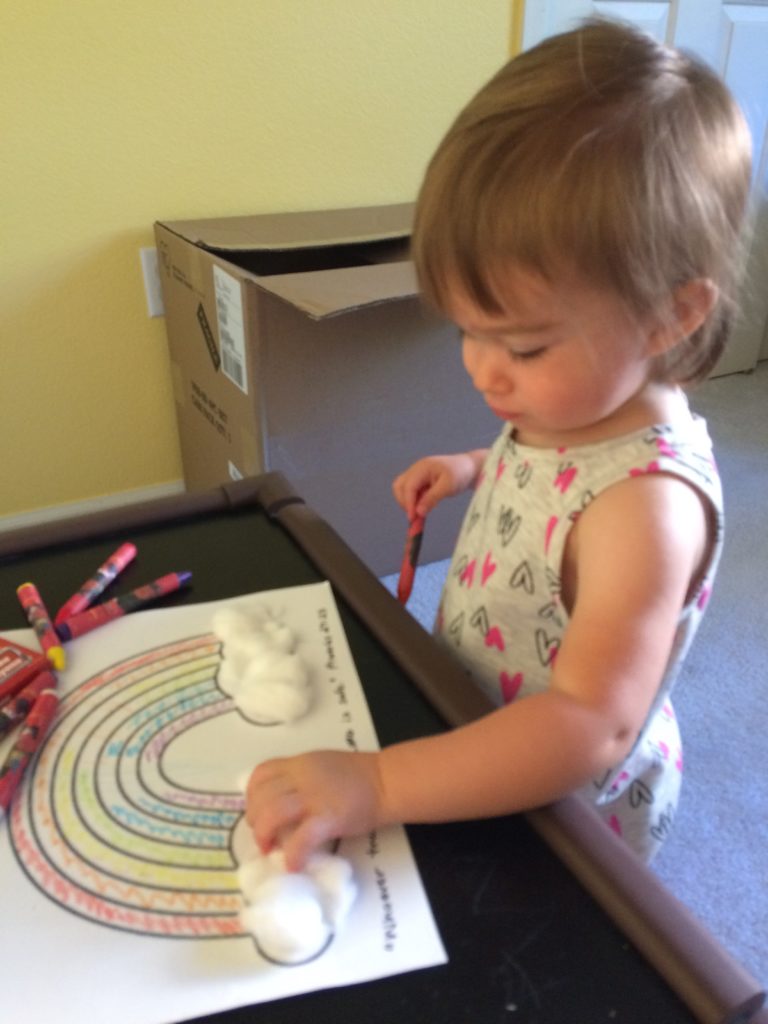
- Activity #1: rainbow coloring sheet, crayons/markers, glue, cotton balls
- Activity #2: 6 toilet paper tubes, small/medium cardboard box, paint – red, orange, yellow, green, blue, purple
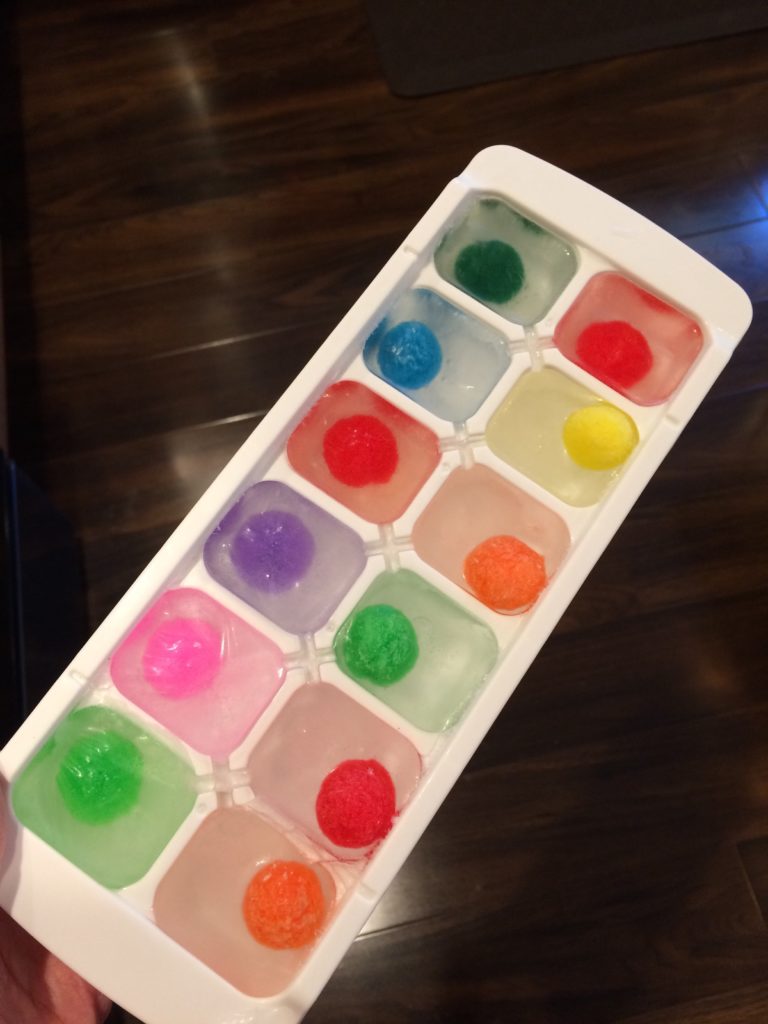
- Activity #3: colored pompoms, ice cube tray
- Activity #4: cornstarch, food coloring
- Activity #5: muffin tin, food coloring, baking soda, vinegar, squeeze bottles
Day 5: Lesson & Activities
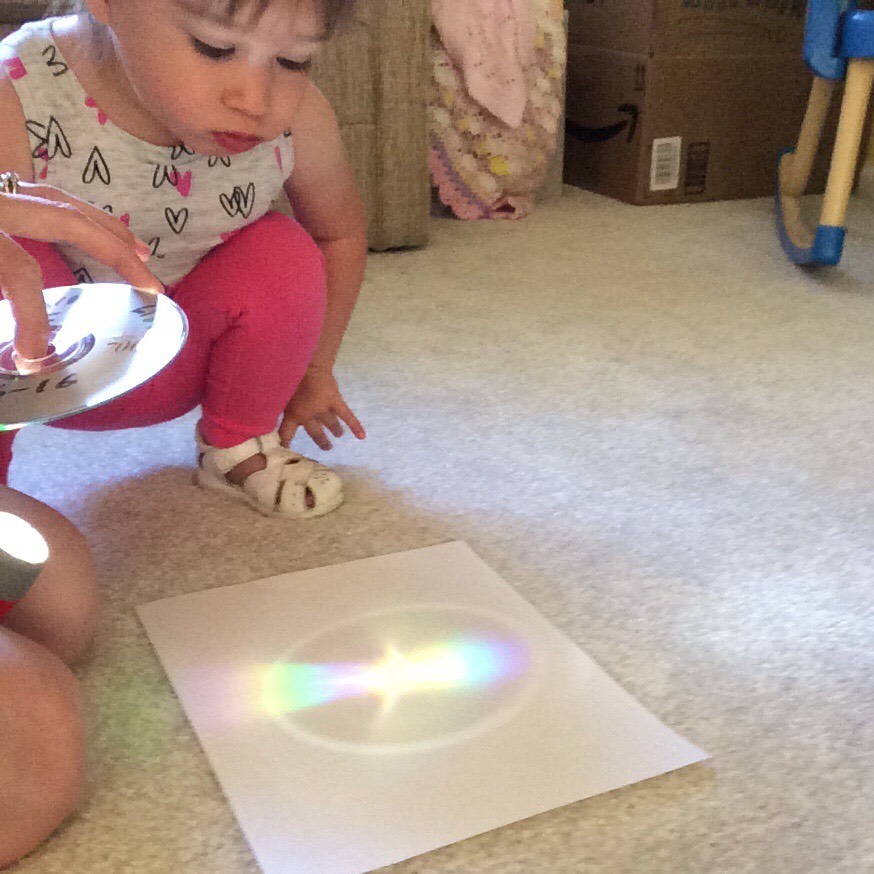
- Open Bible to Genesis 8:1 and 20-21. Ask if child wants to touch God’s Word. Touch gently. Then, “read” the story. God remembered Noah. He remembered all the animals. He sent a wind to blow away all the water. Blow your breath like the wind. God said, “I have put my rainbow in the clouds. It is My promise that I will never flood the earth again.” Make a rainbow by shining sunlight or a flashlight onto a cd onto a white piece of paper. Noah worshiped God. Put your hands up! God is good! God kept Noah, his family, and the animals safe!
God made a promise. God is good!
Children’s Bible Reading: Open children’s Bible. Point to the sun, rainbow, clouds, dry ground, etc. God made a promise. God is good! Clap for God!
Sing or speak while doing activities about rainbows: Red, orange, yellow, green, blue, indigo, and violet are the colors of the rainbow. Colors are everywhere you can see, and God made a promise to you and me!
Activity #1:
- Prep: Find a picture of a rainbow online and print it out (I just did a search for rainbow coloring sheet).
- Paint or color a picture of a rainbow. Add cotton ball clouds.
Activity #2:
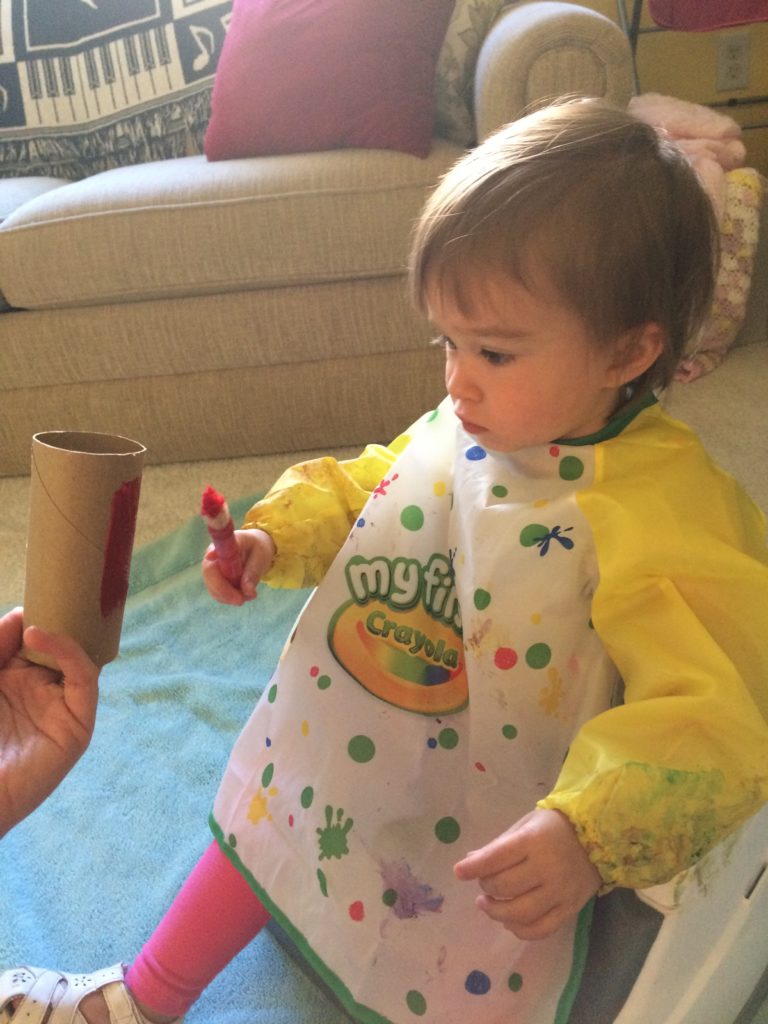
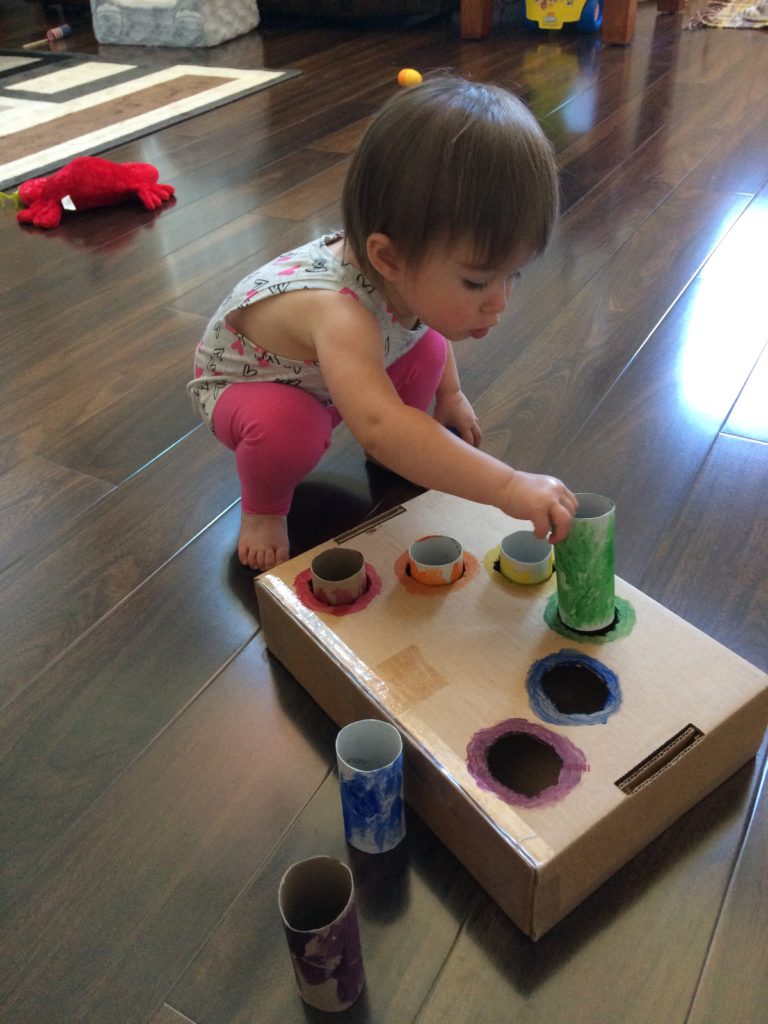
- Prep: Paint a toilet paper tube each with a separate color: red, orange, yellow, green, blue, purple. Cut holes on the top of a small/medium box just the right size for the toilet paper tubes to slide in. Paint the rim of each hole with a separate color to match the toilet paper tubes: red, orange, yellow, green, blue, purple.
- Once it is dry, have your child match the colors and slide in the toilet paper tubes!
- Katelyn was a bit young to help paint this, so I ended up doing most of it. Poor girl didn’t like the slow pace of painting one color at a time with a paintbrush on each tube. She’s also having a rough day with teething. Poor thing! But she was a good sport. :) With a young child, you may want to make and paint the puzzle without the child and then just have them play with it.
Activity #3:
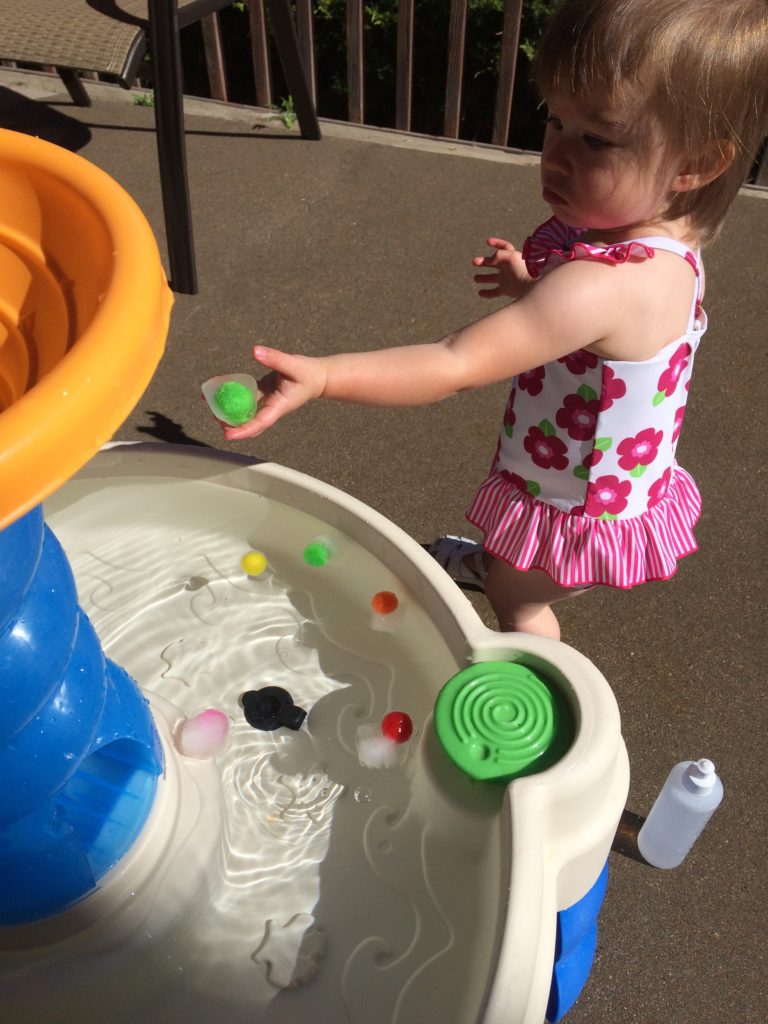
- Prep: Ahead of time (I did it the night before), place one colored pompom in each section of an ice cube tray and fill with water. Freeze.
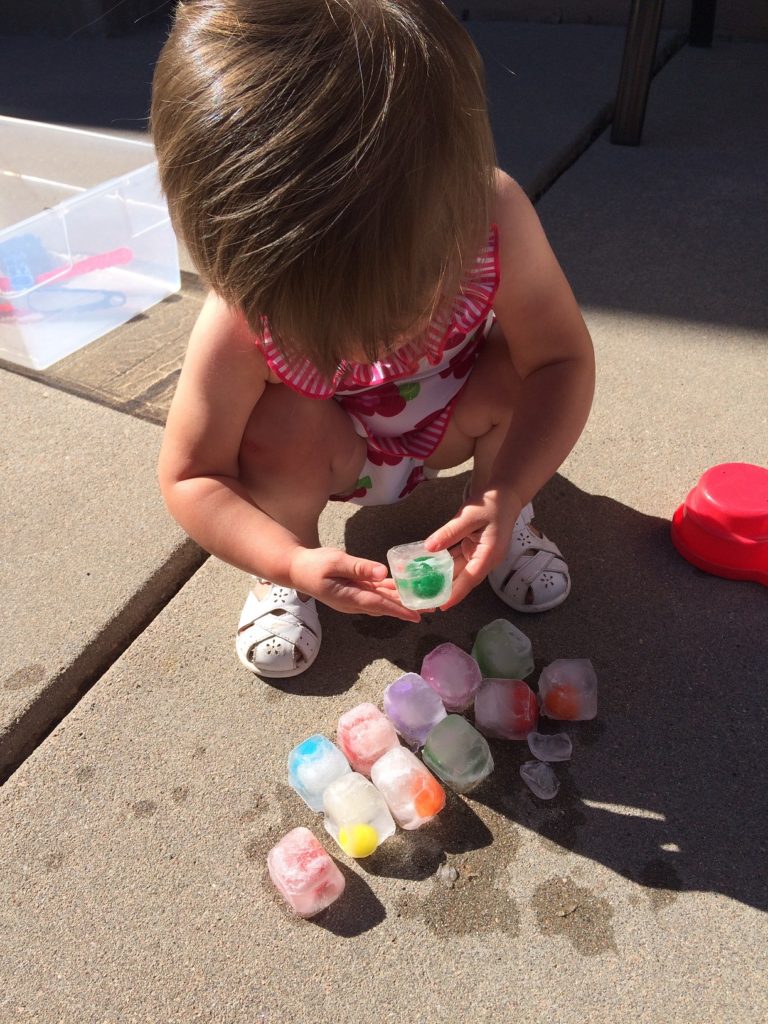
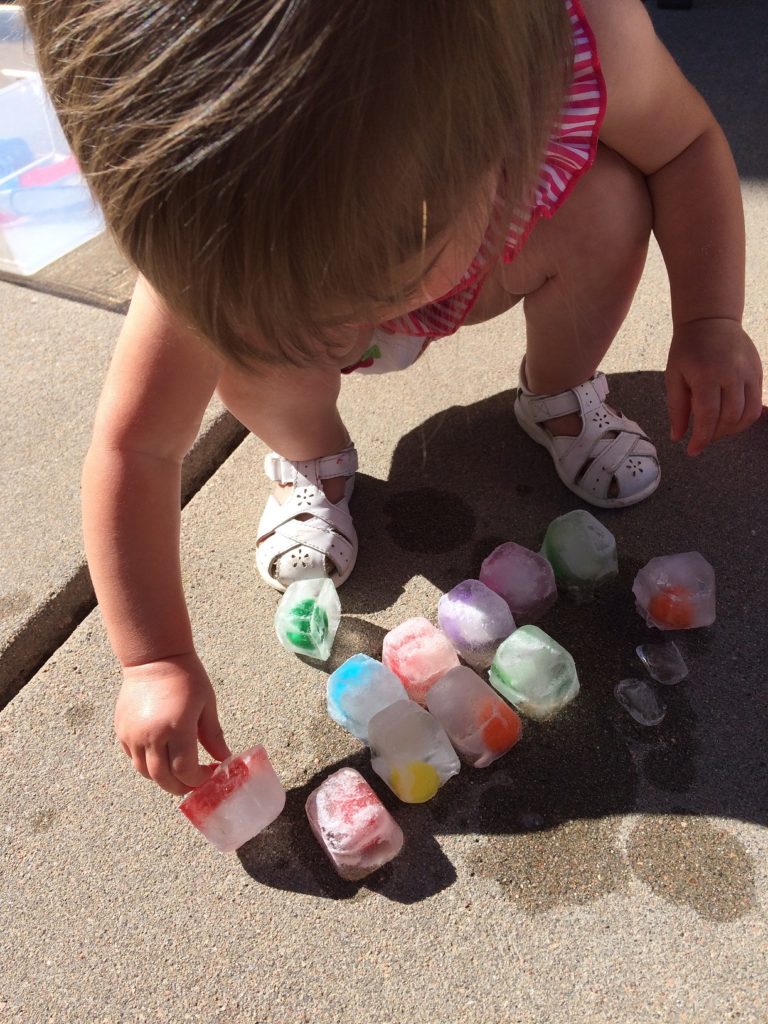
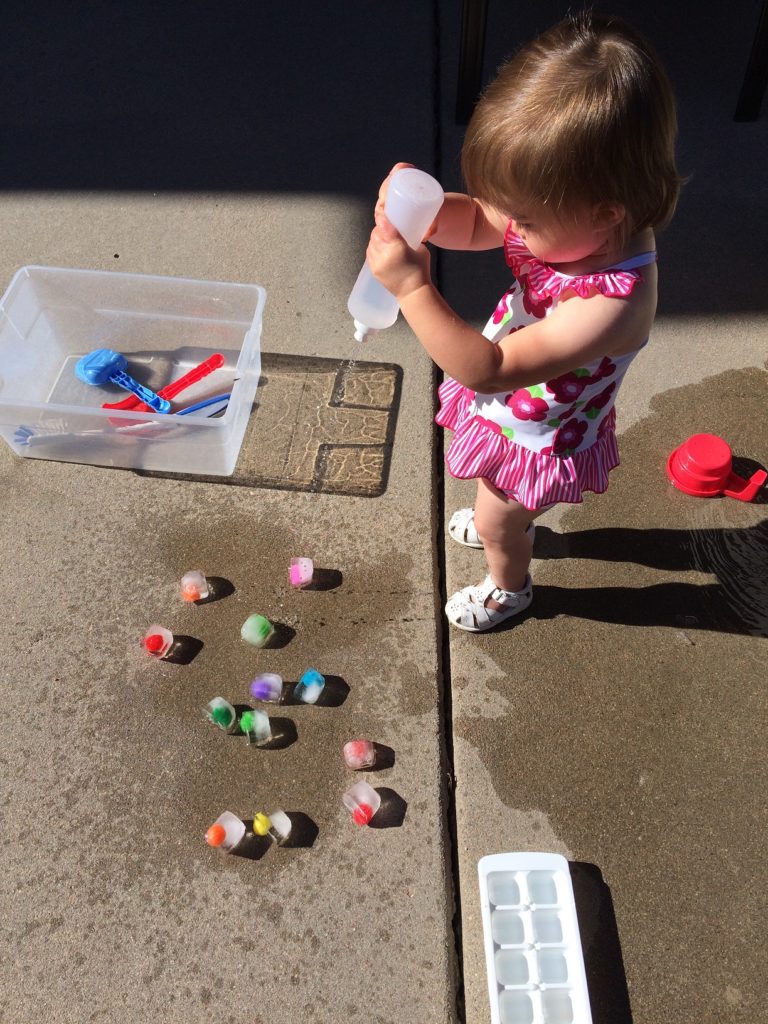
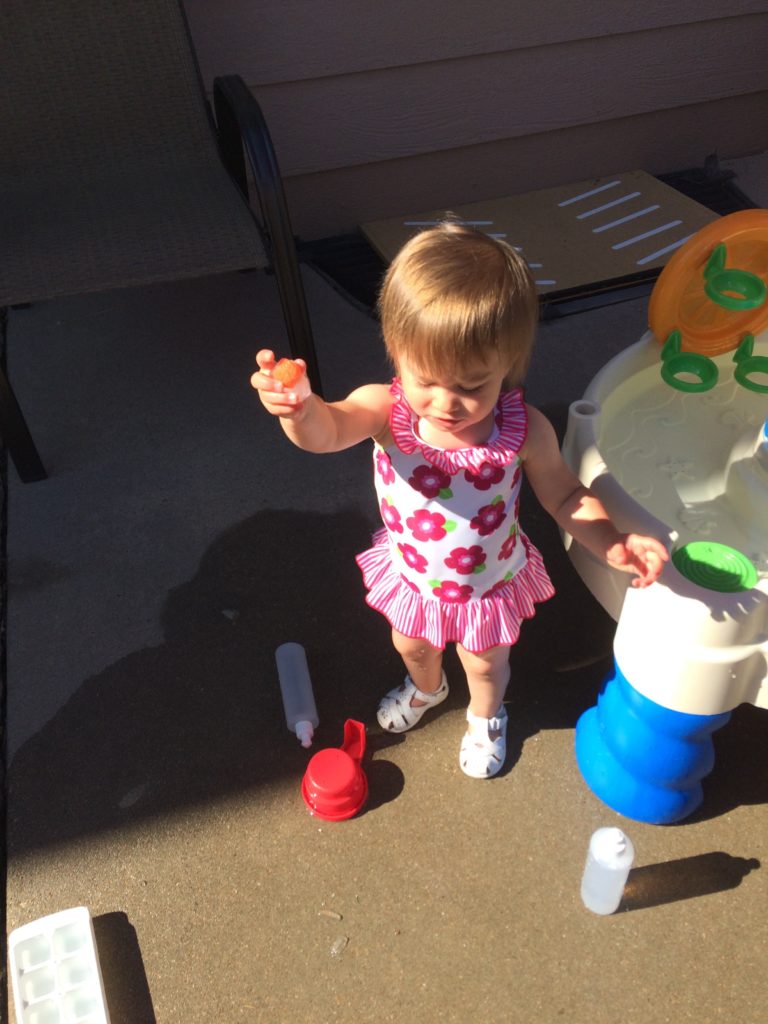
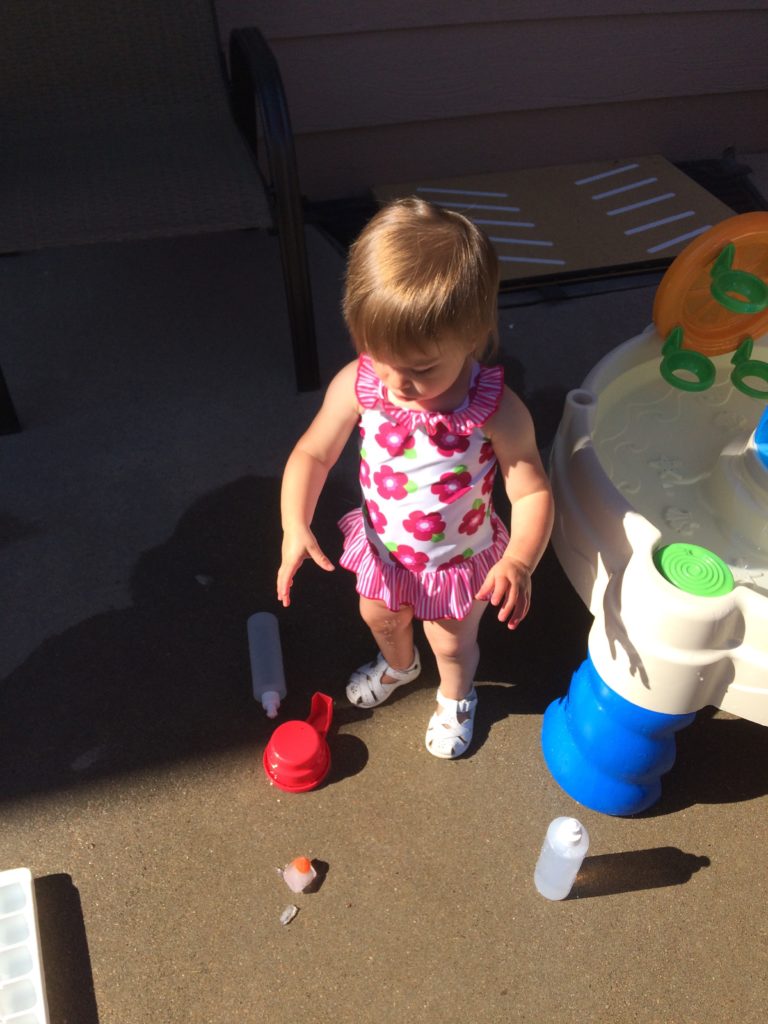
- Take the rainbow pompom ice cubes outside to play with! We touched them, sprayed warm water on them to melt the ice, threw them against the pavement to break the ice, dropped them in the water table, and let them sit in the sun.
Activity #4:
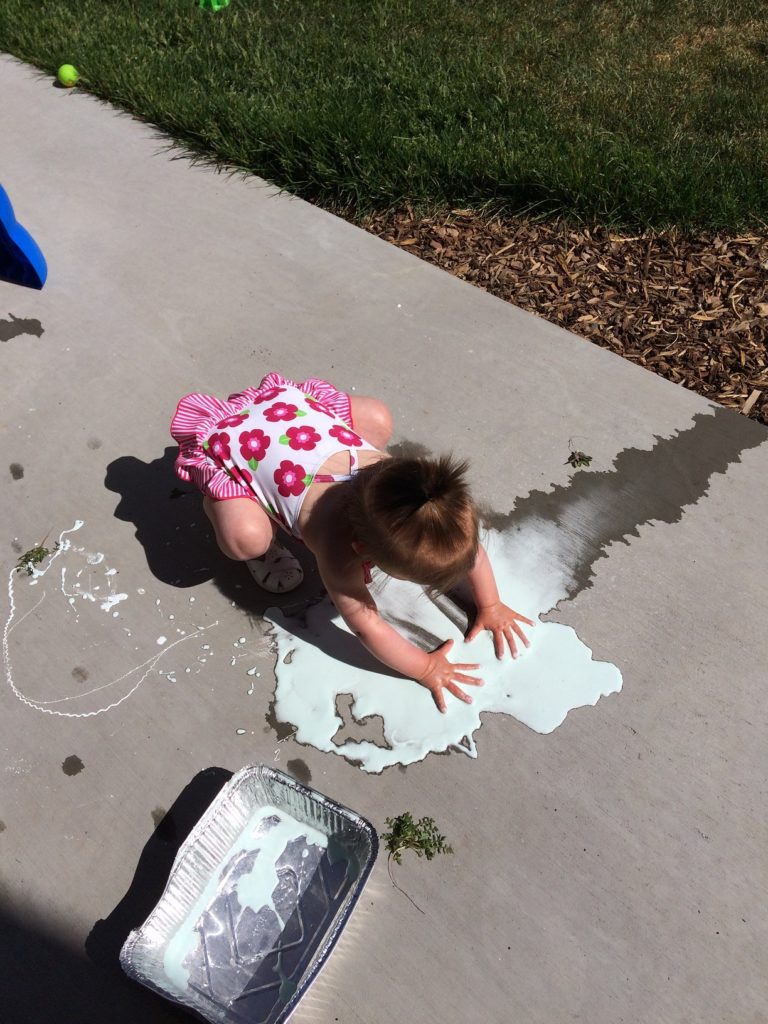
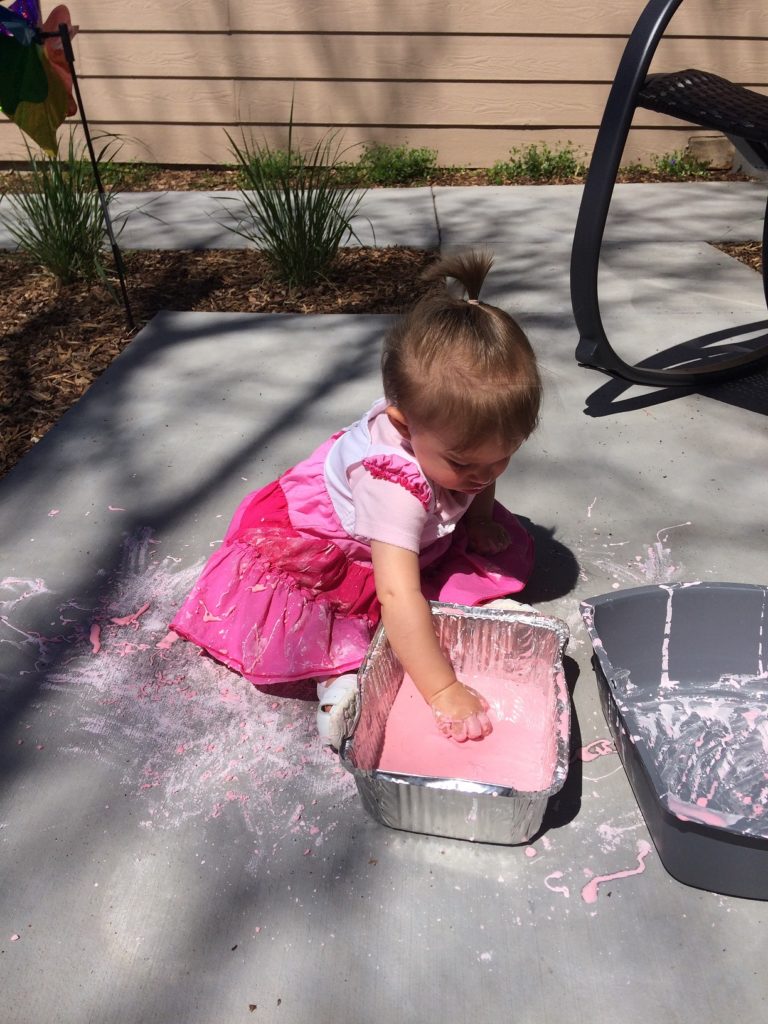
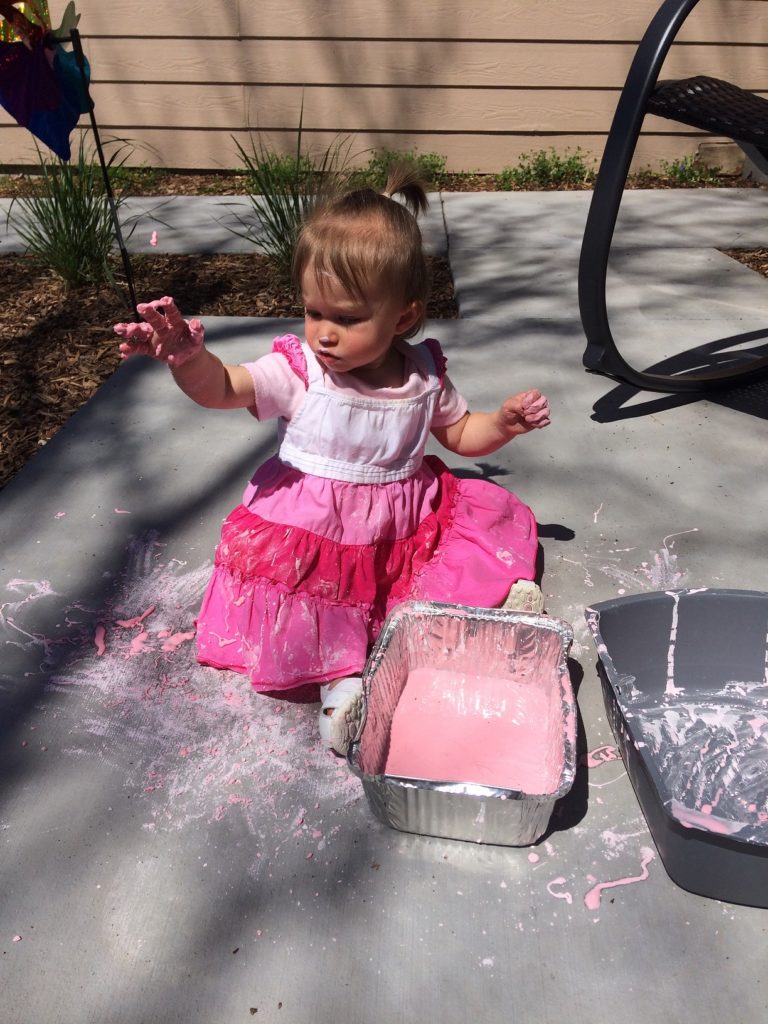
- Prep: Make rainbow oobleck to play with. Recipe: 2 cups of cornstarch, 1 cup of water, rainbow food coloring.
- Know that while oobleck is fun, it is quite messy! The nice thing is that it rinses off very quickly with just water. You don’t even need to scrub! Also, if you play with oobleck on hard floor, once it dries, you can just sweep up the powder.
- I’ve never actually made rainbow colored oobleck before – we’ve always just done one color at a time.
Activity #5:
- Baking soda and vinegar rainbow science experiment! I got this activity idea from busytoddler.com, and Katelyn has loved it!
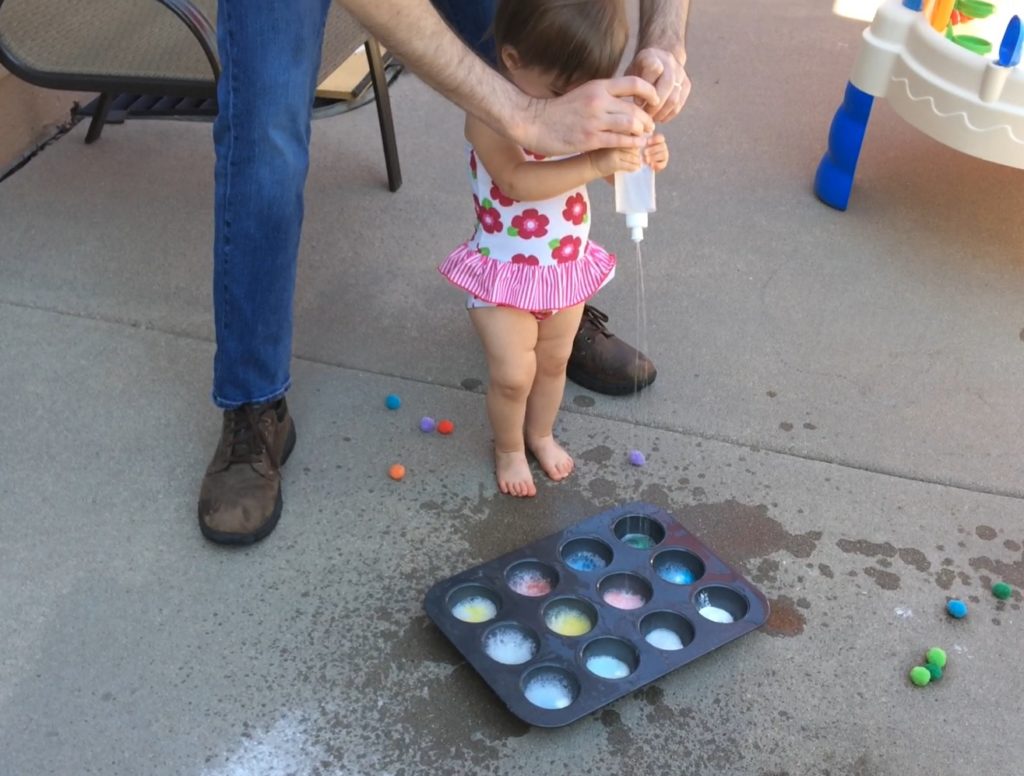
- Prep: Place a drop of food coloring in the bottom of each muffin tin. Place a teaspoon of baking soda over each color.
- Give your child a squeeze bottle with half vinegar, half water. Have them squeeze the bottle into each section of the muffin tin to see the colors fizz, bubble, and foam!
- Once you’ve done each section, dump out the excess vinegar (being careful to leave the clump of remaining baking soda still in the muffin tin), and start over! You can usually dump it several times and keep going.
- This is also a messy one for young toddlers, so a swimsuit or a planned clothing change is essential. :) We’ve also done this activity in the shower in the winter, for easy clean-up.
Closing:
- Spend some time worshiping God together.
- Talk about blessings God has given you. Say, “God is good” and clap for God.
- Sing a worship song. My chosen song for the day is God is So Good:
- God is so good, God is so good, God is so good, He’s so good to me.
- (wave arms above head) Glory Hallelujah, Glory Hallelujah, Glory Hallelujah, He’s so good to me.
- A Note about Singing:
- Not everyone is musical. If you don’t feel comfortable singing, don’t feel bad. Toddlers love rhythmic speaking as well as singing. Most children’s songs are just as interesting and fun if you speak them rhythmically rather than singing. (Just think about all the rhythmic, rhyming books that everyone loves!) Or, you can always look up songs online to play during the lesson if you still want to incorporate music.


