

Abraham Day 2: Names
*There are 4 activities for this day’s lesson. Feel free to choose one or two of the activities OR spread them out over several days! :)
- Materials:
- Bible – I like the NIrV (New International Reader’s Version)
- Children’s Bible with illustrations
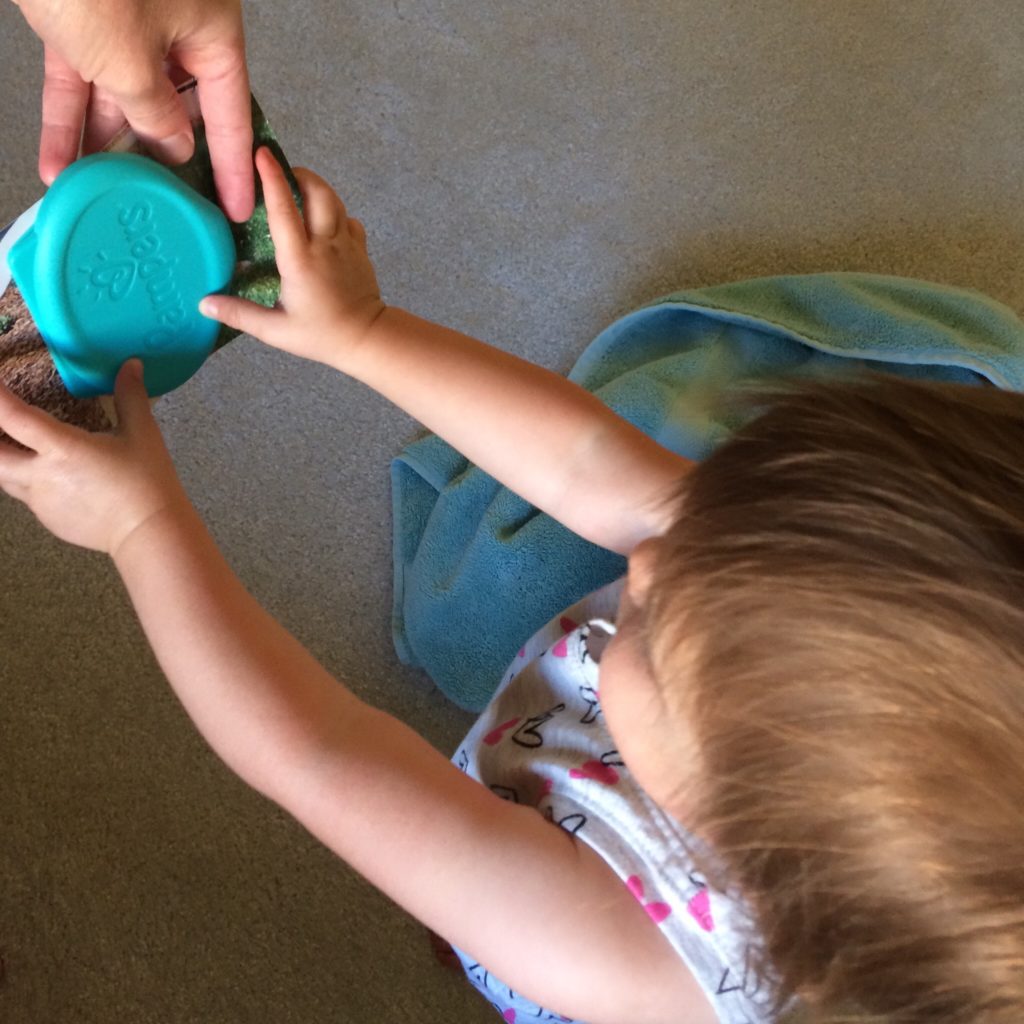
- Picture of child (optional: lid from a wipes container)
- Activity #1 Materials: Fingerpaints or small stickers (dot stickers would work well), Butcher paper, Painter’s tape
- Activity #2 Materials: Butcher paper, Painter’s tape, Sticky notes
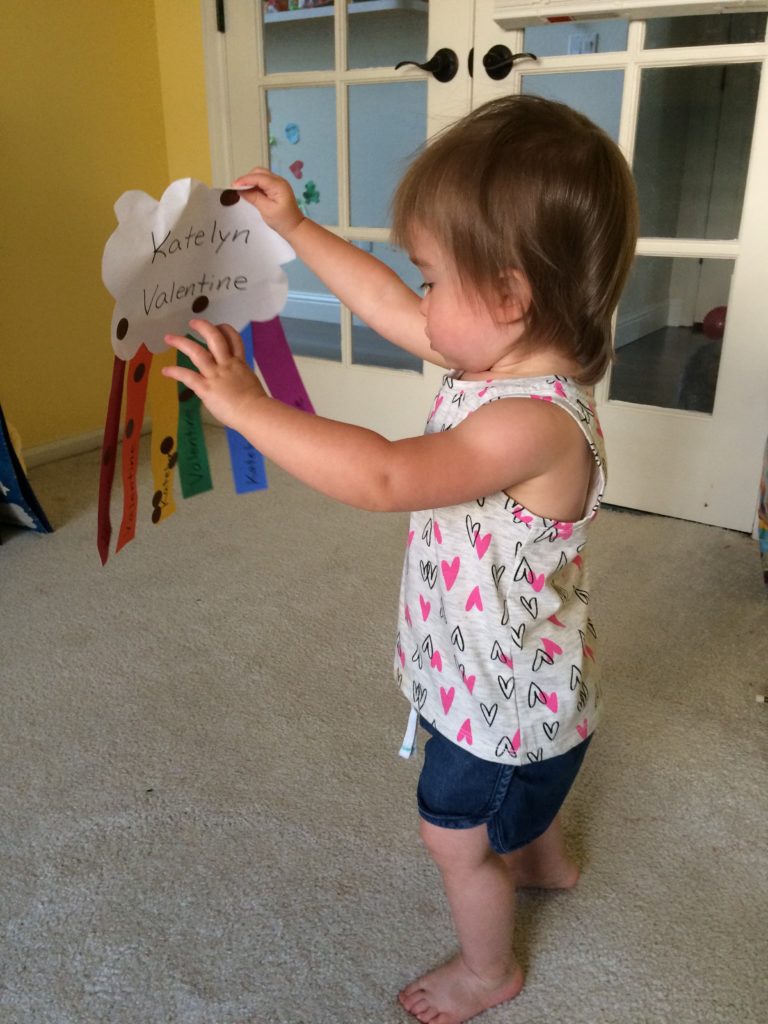
- Activity #3 Materials: White paper cut into a cloud shape, Paper strips with name written (red, orange, yellow, green, blue, purple)
- Activity #4 Materials: Alphabet Stencils (works best if they are plastic, not cardboard), Paper, Fingerpaints
- Day 2: Lesson
- Bible to Genesis 17:15-16. Ask if child wants to touch God’s Word. Touch gently. Then, read verse straight from the Bible.
- God gave Abraham and Sarah special names. Mommy and Daddy picked a special name for you!
- Look at picture of child. I made a peek-a-boo game with a saved lid from a wipes container glued/taped to a photo.

Activity #1:
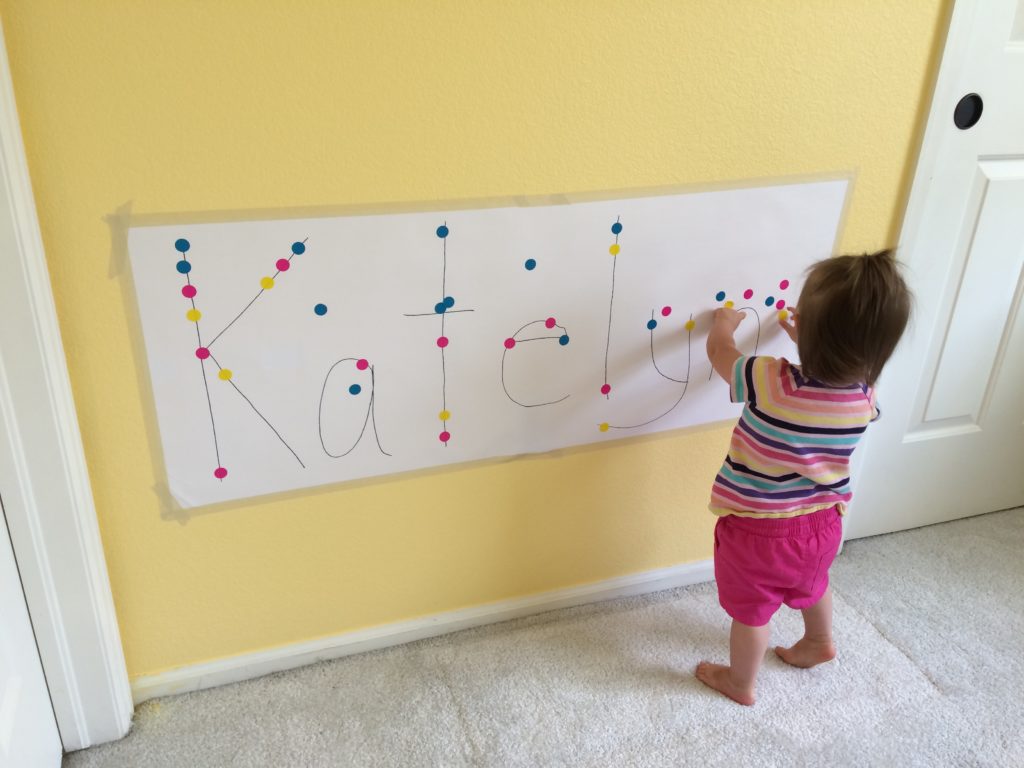
- Prep: Hang a piece of butcher paper on the wall with painter’s tape. It helps to tape the corners first, and then you can add tape along each edge if you’d like. Write child’s name across the paper.
- Have child stamp thumb prints with fingerpaint or place stickers along the letters.
- I recently got some colored dot stickers, and Katelyn absolutely loves dots lately. At 16 months old, she didn’t usually put the dots along the lines of the letters, but she sure loved sticking them up on the paper!
Activity #2:
- Prep: Hang a piece of butcher paper on the wall with painter’s tape. It helps to tape the corners first, and then you can add tape along each edge if you’d like. Write first name (or initials) on the paper. Write matching letters on enough sticky notes to match up to the names on the large paper (one letter per sticky note).
- Match up the sticky notes to the letters on the large paper.
- I didn’t actually do this activity with Katelyn but wanted to include it in the lesson for future use. :)
Activity #3:
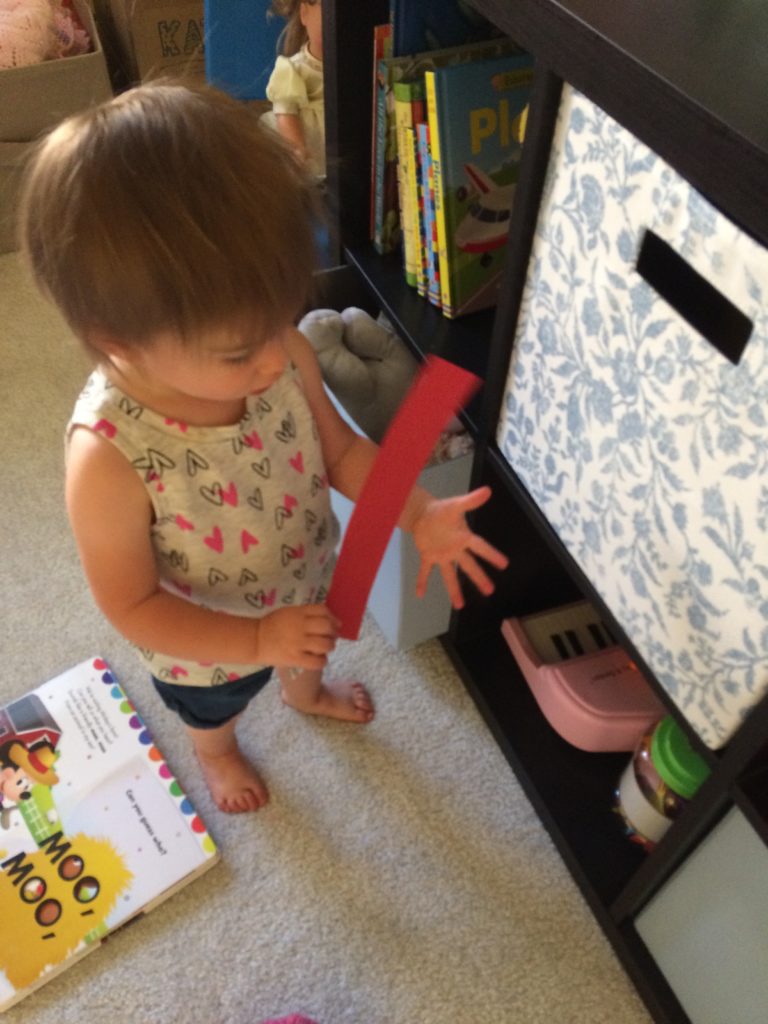
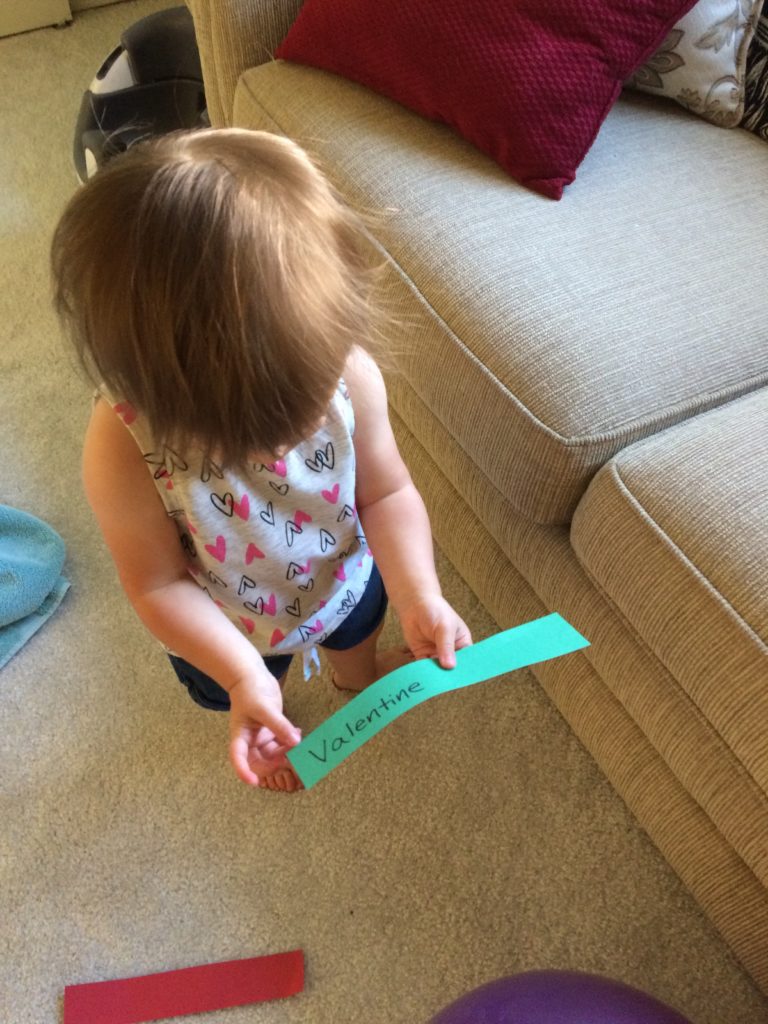
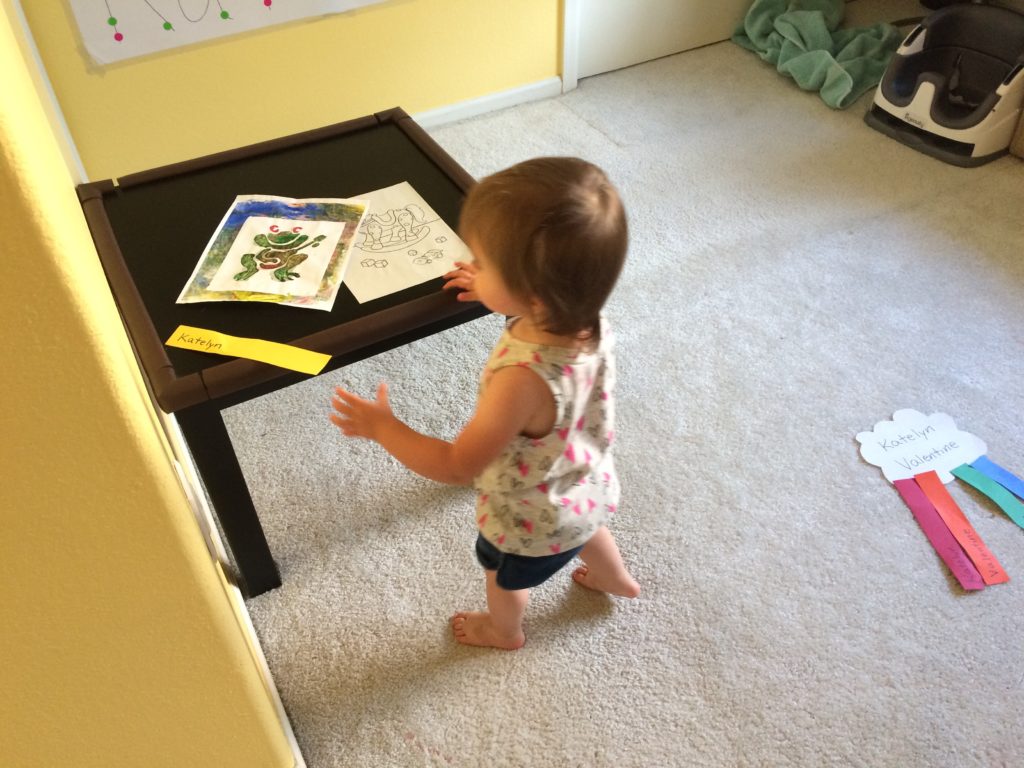
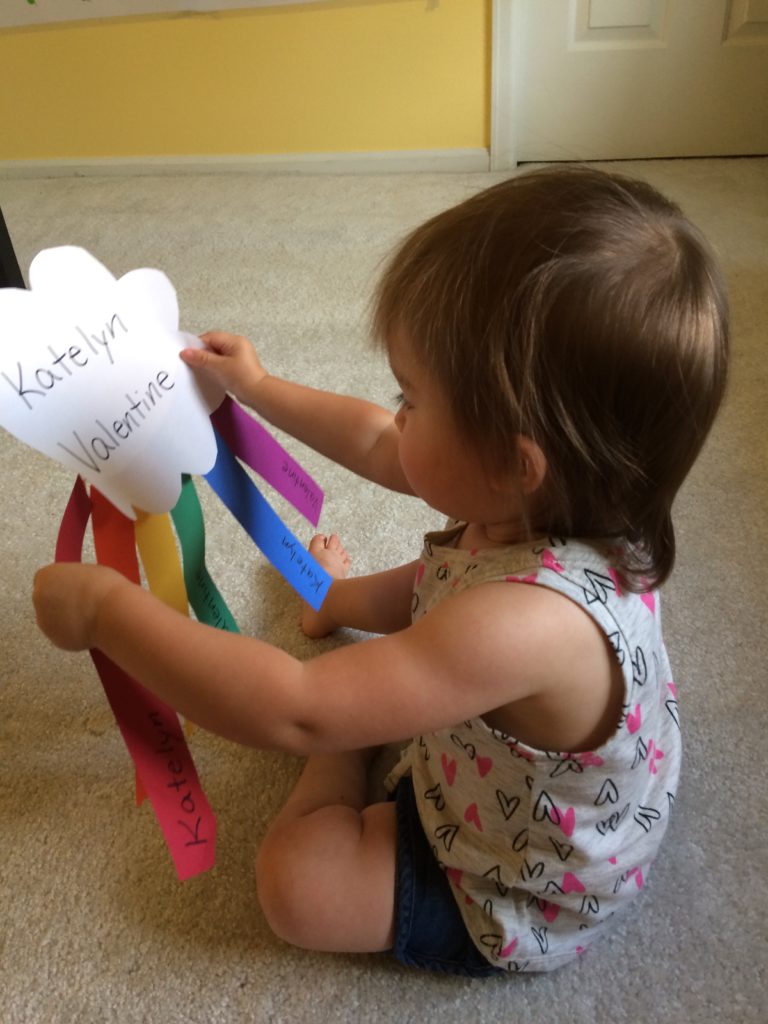
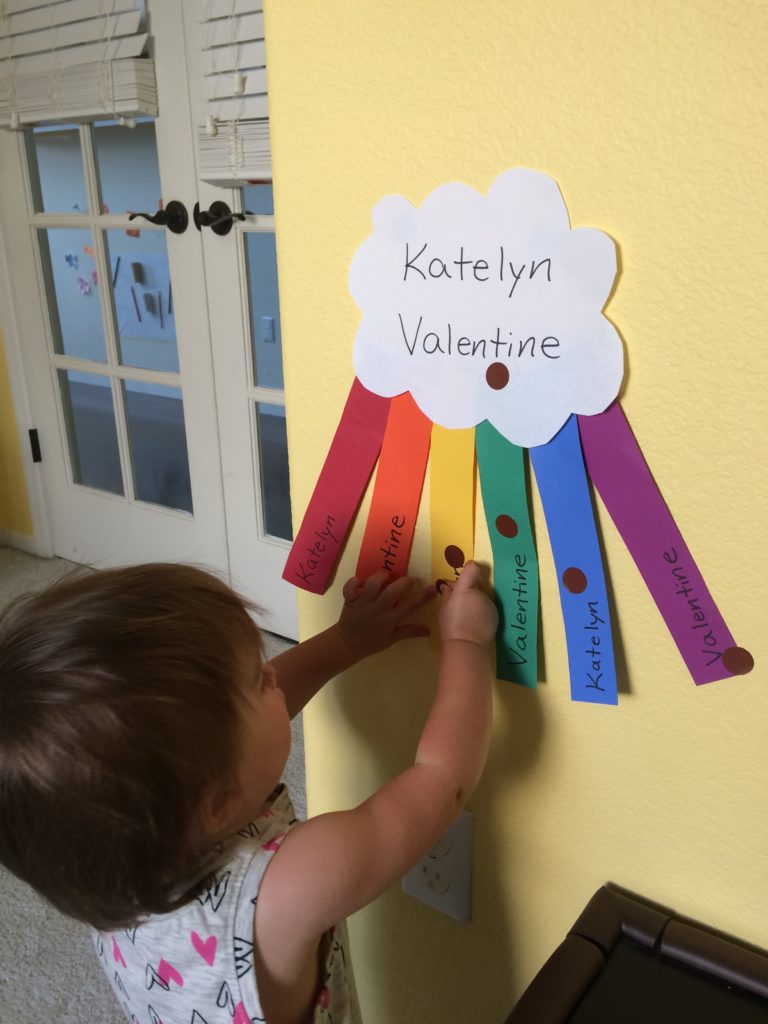
- Prep: Cut a cloud shape out of a piece of white paper, and write name on paper cloud. Cut out paper strips, one of each color: red, orange, yellow, green, blue, and purple. Write child’s name on the strips. I used Katelyn’s first and middle name.
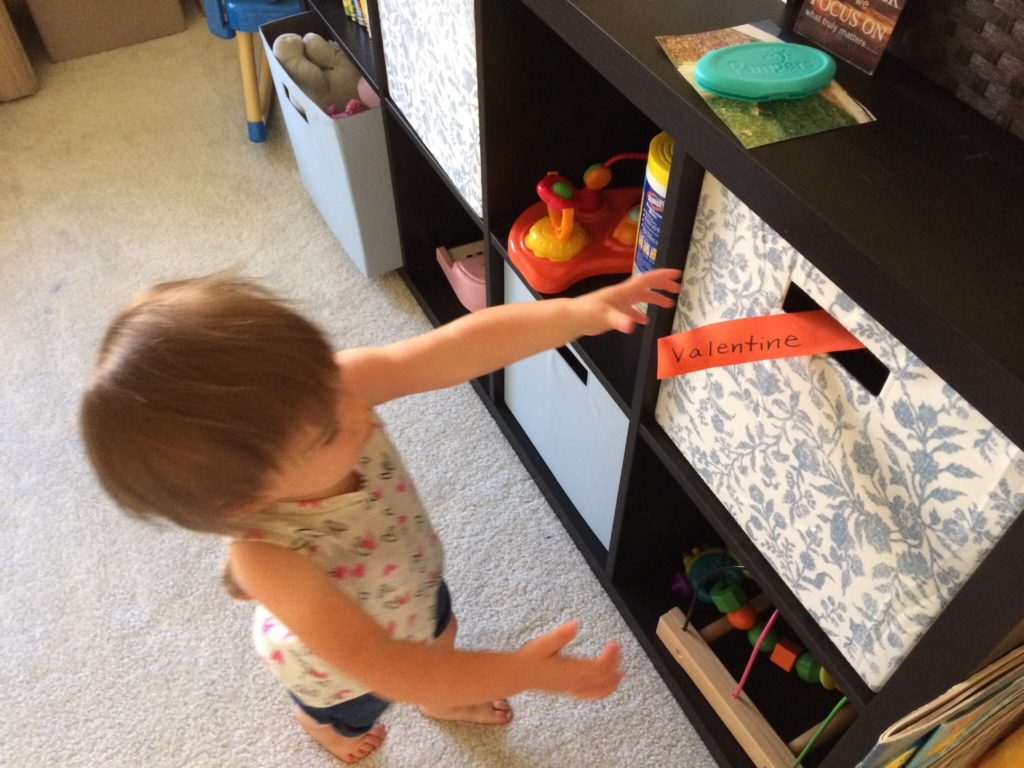
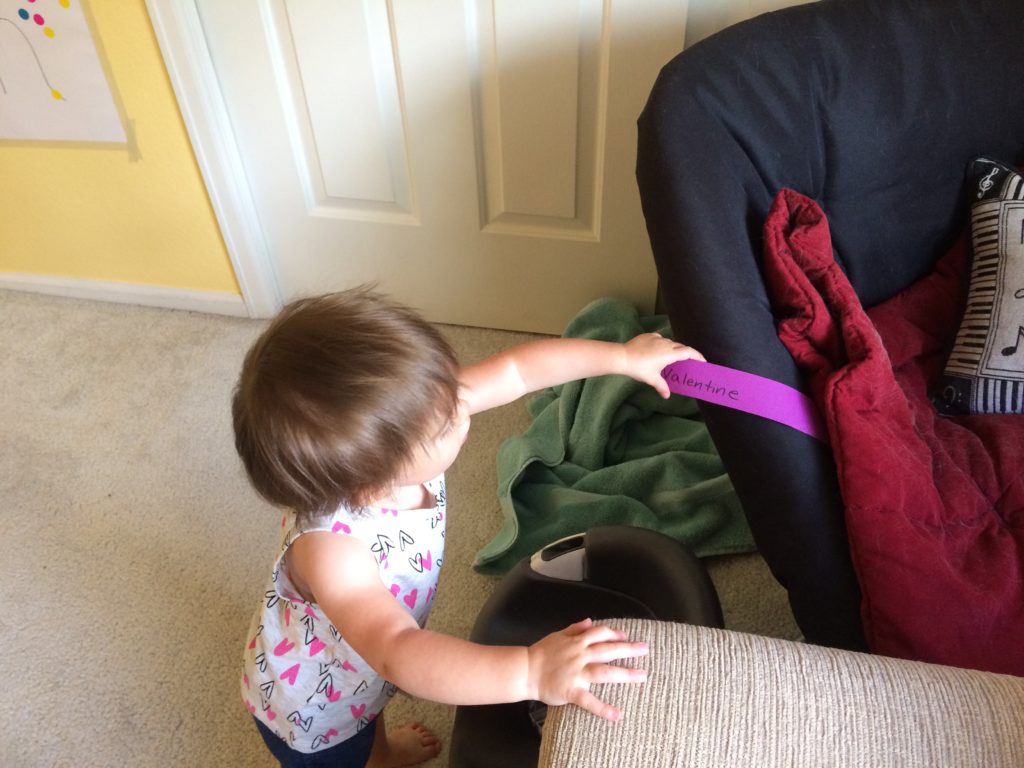
- Look at name written on cloud. Then, find colored strips with name written on them “hidden” around the house/room and add them to the cloud in rainbow order. Katelyn had fun running around the room to find the “hidden” colored strips! I read each one to her as she found it.
- Remember God’s promise with the rainbow from last week!
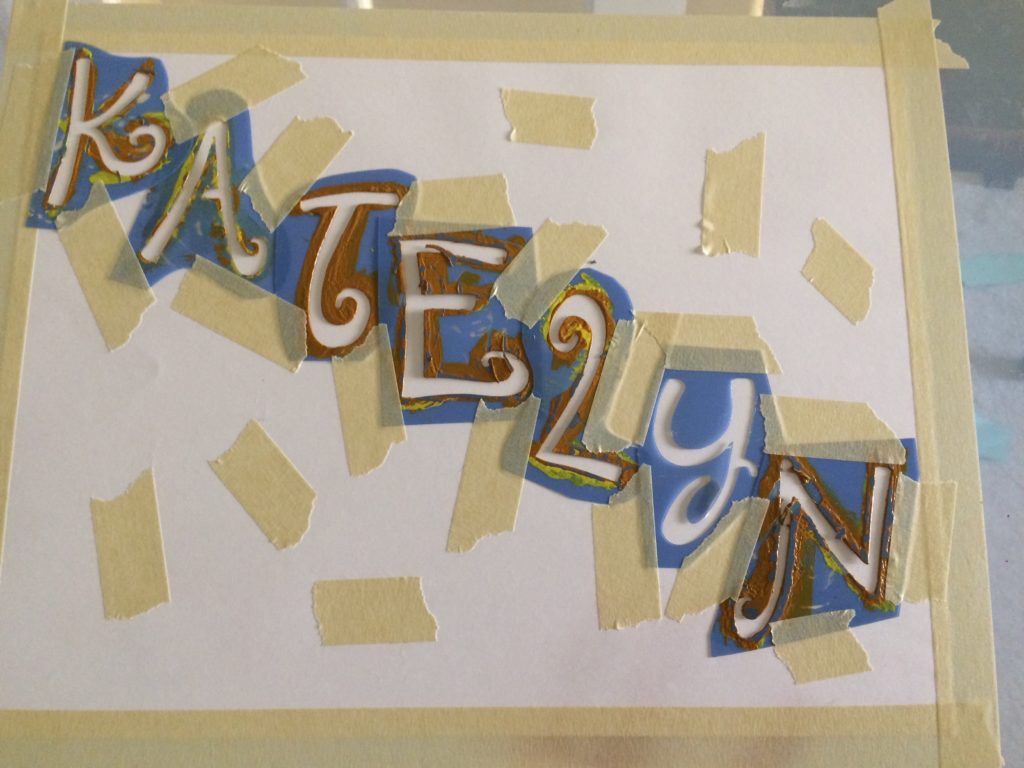
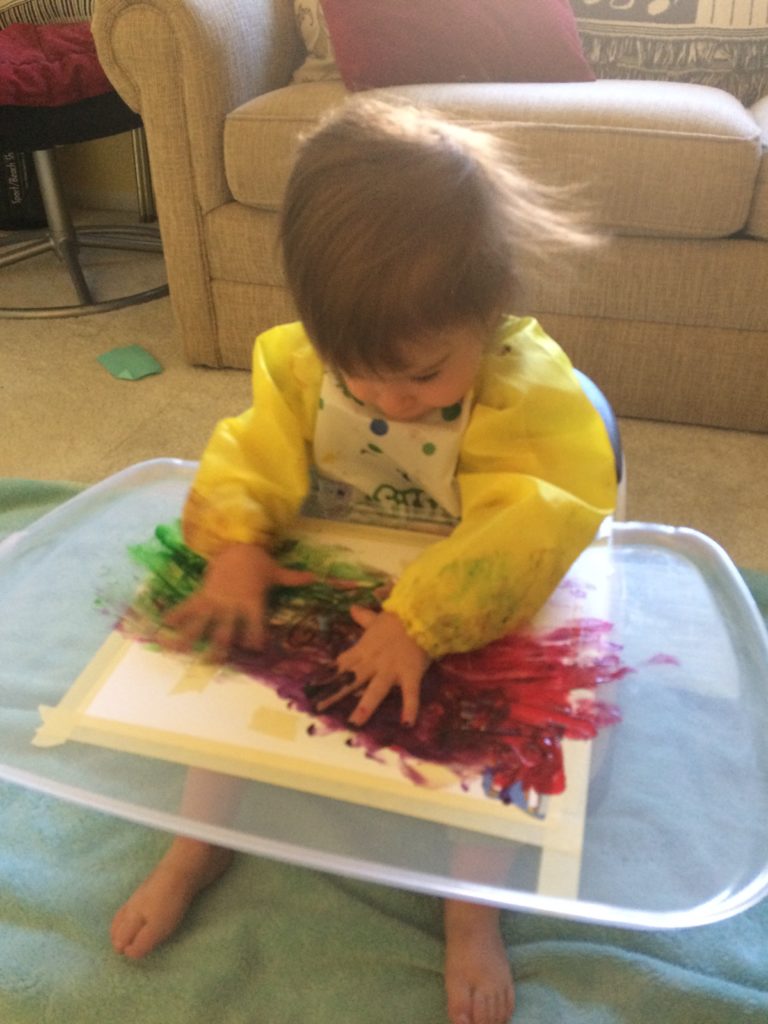
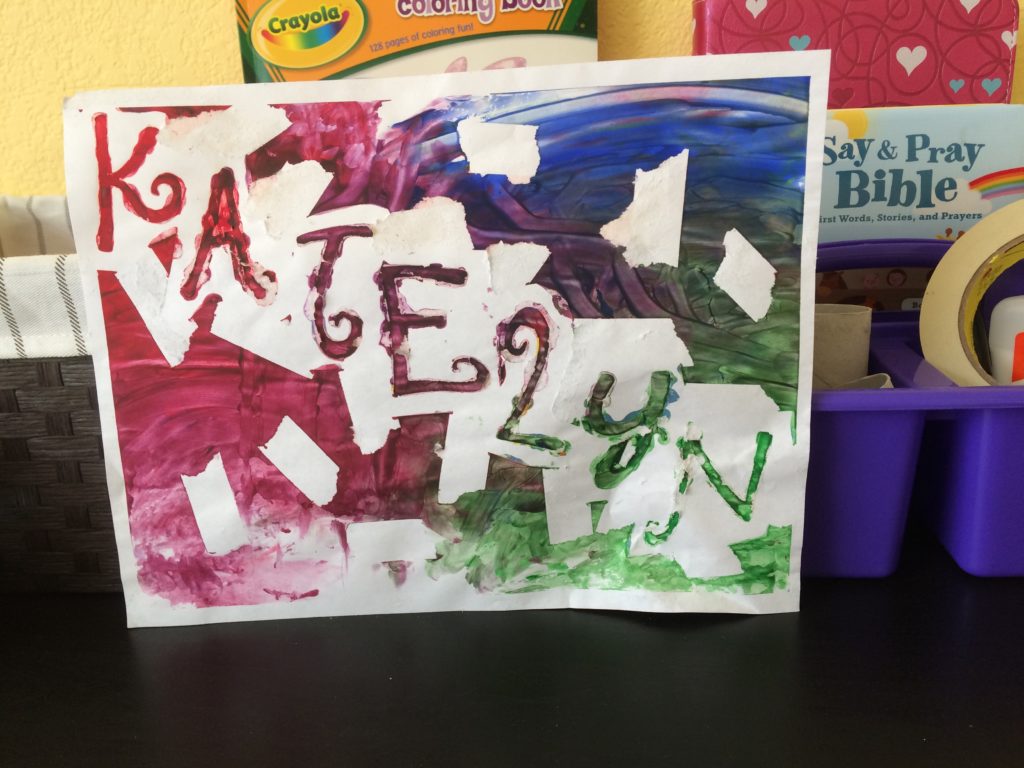
Activity #4:
- Tape stencil letters to paper. I let Katelyn add some pieces of tape in the empty spaces of the page.
- Have child paint or fingerpaint over the stenciled letters.
- Peel off the stencils and tape when the paint dries and see name! It was a bit challenging to pull off the stencils without ripping the paper – the paint clumped and acted almost like a glue in spots. But I still think it turned out neat, and Katelyn loved to paint. It might work better if you wait a day to let it fully dry.
- Child-led Exploration:
- Katelyn loved the dot stickers so much, so we added them to her cloud and rainbow name craft.
- She also enjoyed coloring on her large name paper on the wall. I stayed very close because this could easily become crayons coloring on the wall and doors. Instead, it was a good teaching opportunity. Anytime she attempted to color on something other than the paper, I took the crayon away and said, “No, color only on the paper.” She seemed upset getting the crayon taken away. I let her try again the correct way, and praised her when she was coloring in the correct place.

Closing: Psalm 67:6, God, our God, blesses us. God blessed us with special names.
- Note on Closing Prayer:
- Since this lesson didn’t have too much Scripture throughout, I made sure to bring in this week’s verse during the closing prayer. Psalm 67:6, God, our God, blesses us.