Joseph Day 1: A Special Gift
*There are 2 activities for this day’s lesson. Feel free to choose one of the activities OR spread them out over several days! :)
- Materials:
- Bible – I like the NIrV (New International Reader’s Version). It’s a 3rd grade reading level and reads easily for small children.
- We are using the Say & Pray Baby Bible and/or The Jesus Storybook Bible (but any children’s Bible with illustrations would work)
- Activity #1: brown paper grocery bag turned upsidedown (cut out hole for head, holes for arms, and cut down the front) – wrapped up like a gift or hidden in the room, paints
- Activity #2: picture of coat (to decorate), strips or squares of colored tissue paper OR for tissue paper painting get special colored tissue paper that bleeds
Day 1: Lesson and Activities
- Open Bible to Genesis 37:3. Ask if child wants to touch God’s Word. Touch gently. Then, read verse.
Children’s Bible Reading: Open Say & Pray Bible and read story “Joseph’s Colorful Coat.” Point to Father, Joseph, and special gift (coat).
Sing while working on Activities (Tune: Five Little Ducks) Joseph got a special gift, A beautiful, colorful, special gift, Joseph got a special gift. Thank you, Daddy, for my colorful coat, colorful coat, colorful coat! Thank you, Daddy, for my colorful coat!
Activity #1:
- Prep: Cut brown paper bag to make a coat. Wrap it up or hide it somewhere.
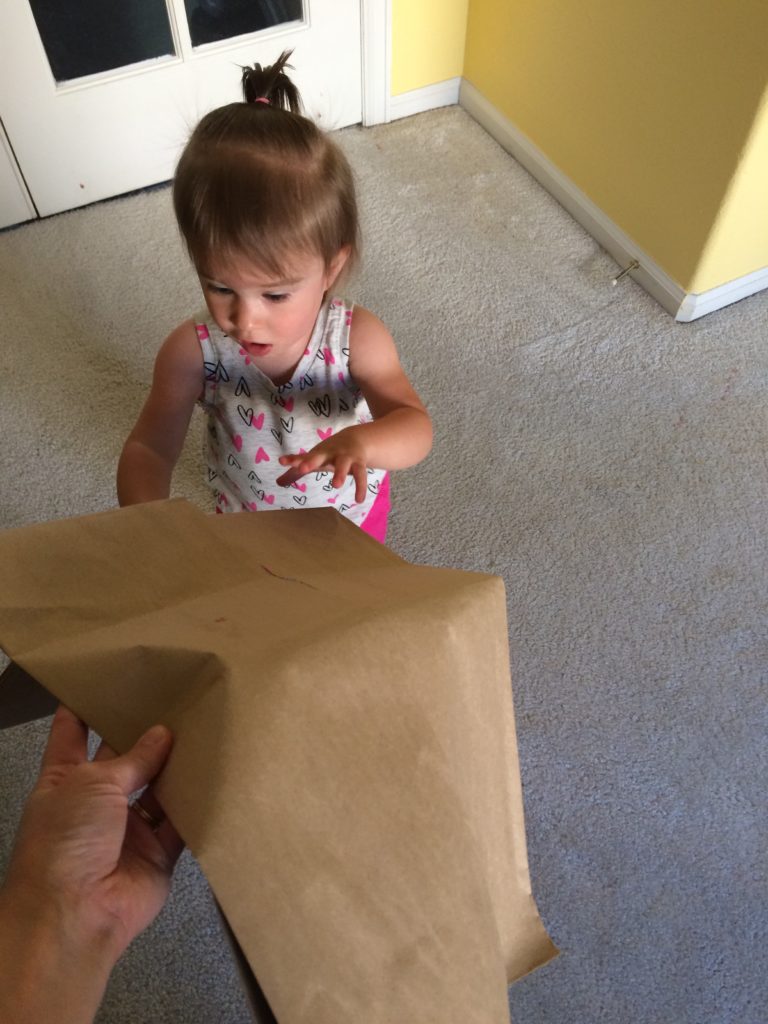
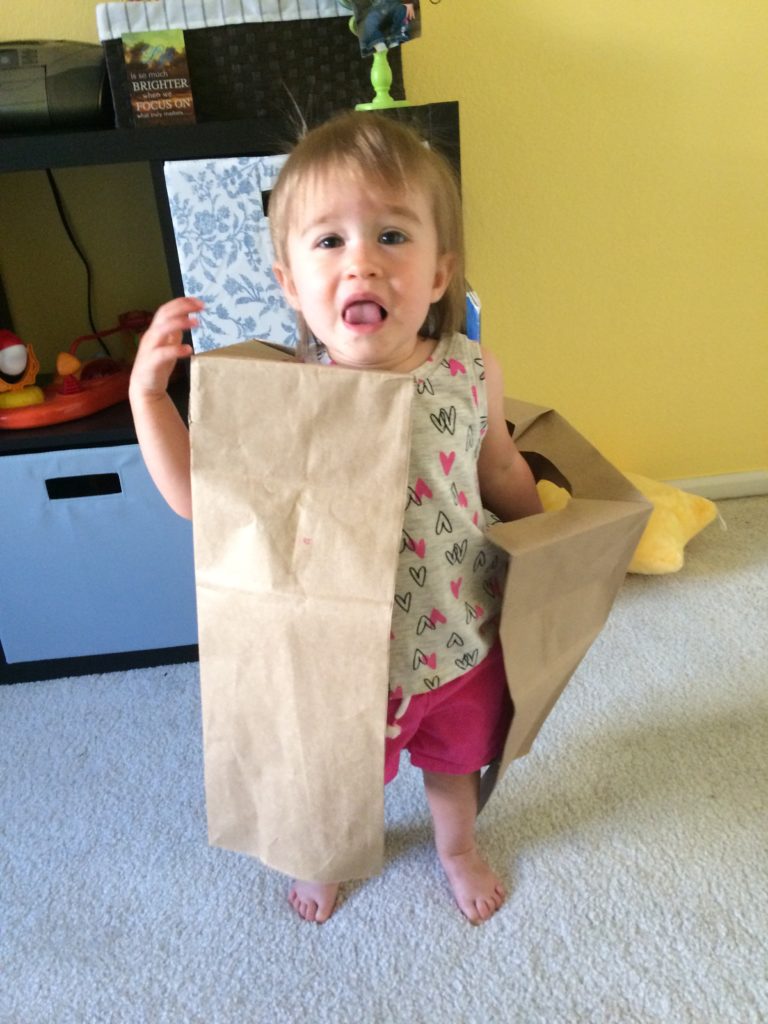
- I have a special gift for you! Help child unwrap the brown paper grocery bag coat (or find it in the room) and put it on. I decided to hide it inside one of Katelyn’s toy bins on her shelves. She was excited about something new to pull out! I put it on her, but she didn’t really like wearing it. It was heavy and big, and I’m sure it was scratching her neck! Haha
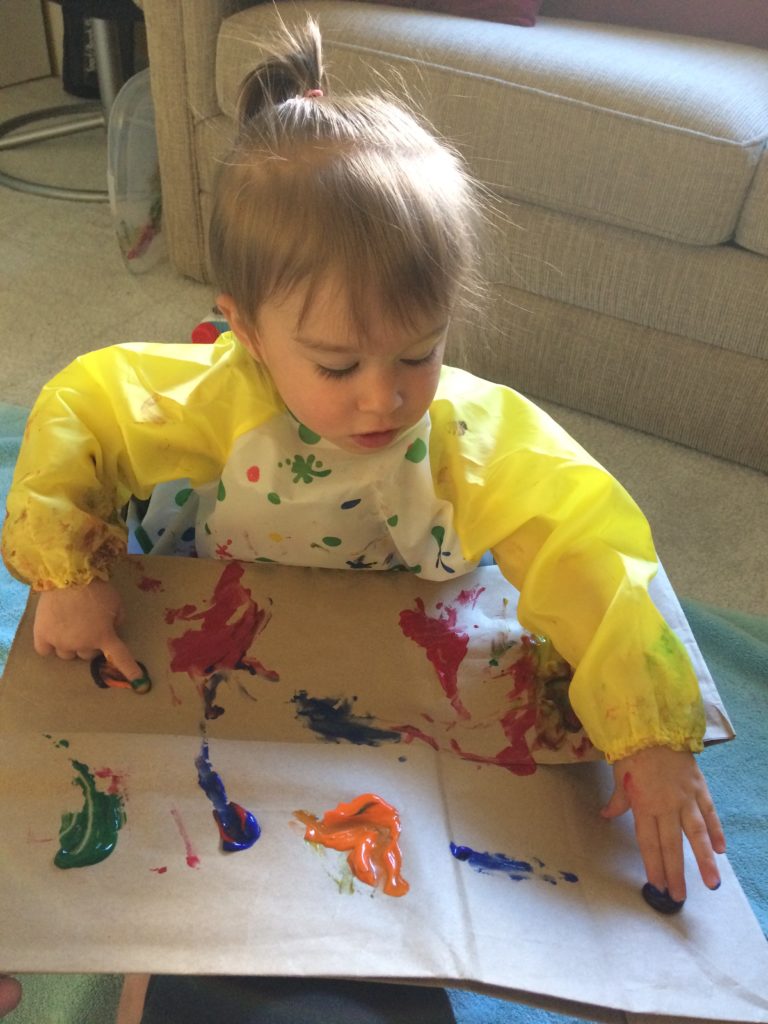
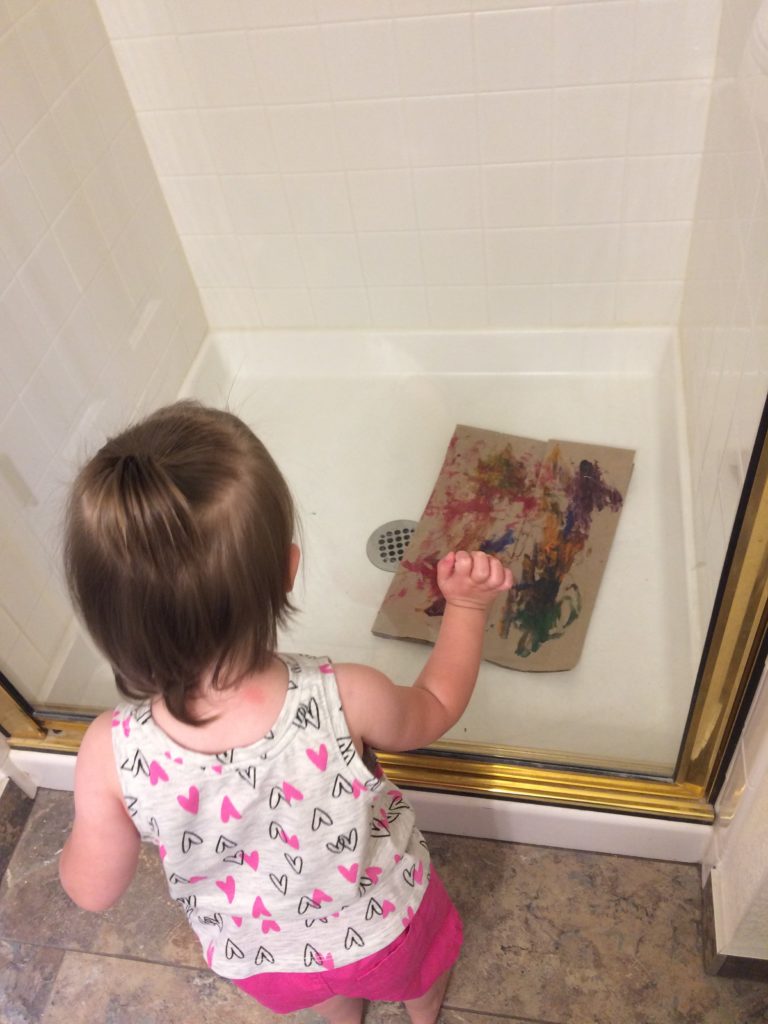
- But it’s all brown! Let’s make it colorful like Joseph’s colorful coat. Paint the coat lots of colors.
Activity #2:
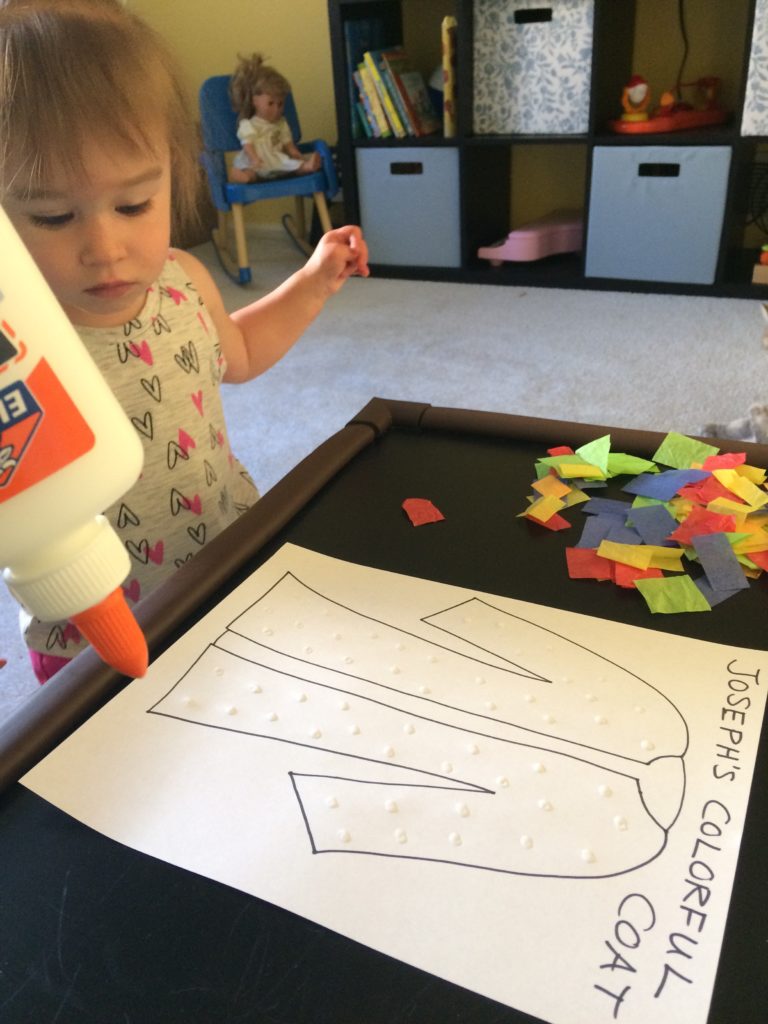
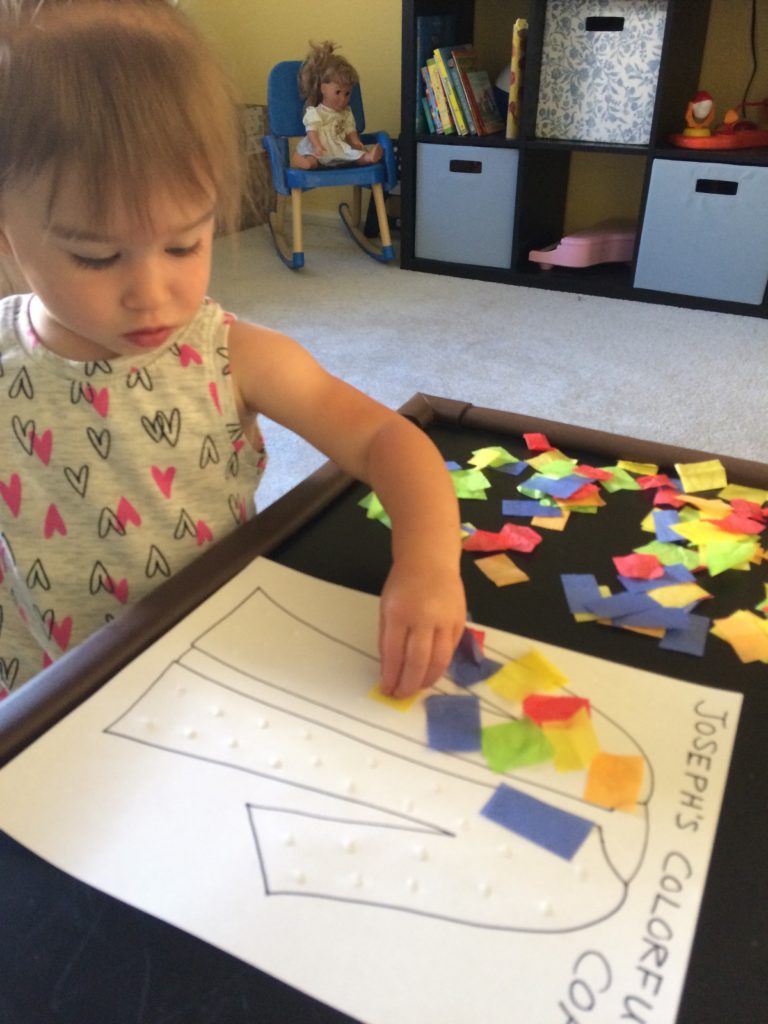
- Prep: Draw a picture of a coat on a piece of paper. Cut up tissue paper into small squares or strips.
- Glue strips or squares of colored tissue paper to picture of coat on paper. This was the first time we’ve used glue like this, so I did it for her. Katelyn was content to watch. As I put the glue on the page, I repeated, “Just a dot, not a lot.” I figured I would introduce that phrase early so that she will learn that she doesn’t need a lot of glue for craft projects like this!
- Alternate Tissue Paper Idea: I found another really neat idea recently that I really would love to try but wasn’t able to today because I didn’t have the correct materials. Tissue paper painting! You have to buy a special kind of tissue paper that bleeds the colors. Then, you brush water onto the paper, lay down the pieces, and brush more water on top. Once it dries, you let the tissue paper fall off and are left with a water color-like picture. That would be a fun and simple activity to try with this lesson.
Closing: Read Bible verse Ephesians 5:20, Always give thanks to God and prayer in Say & Pray Bible. Thank You, God, for parents who love me!
Child-led Exploration:
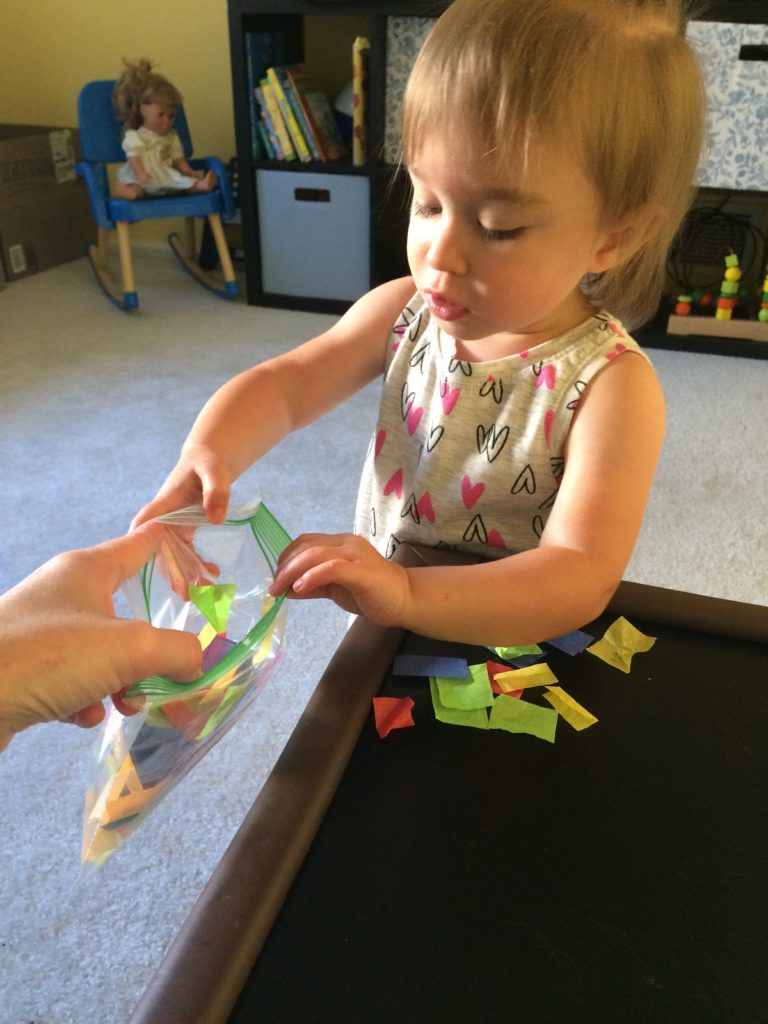
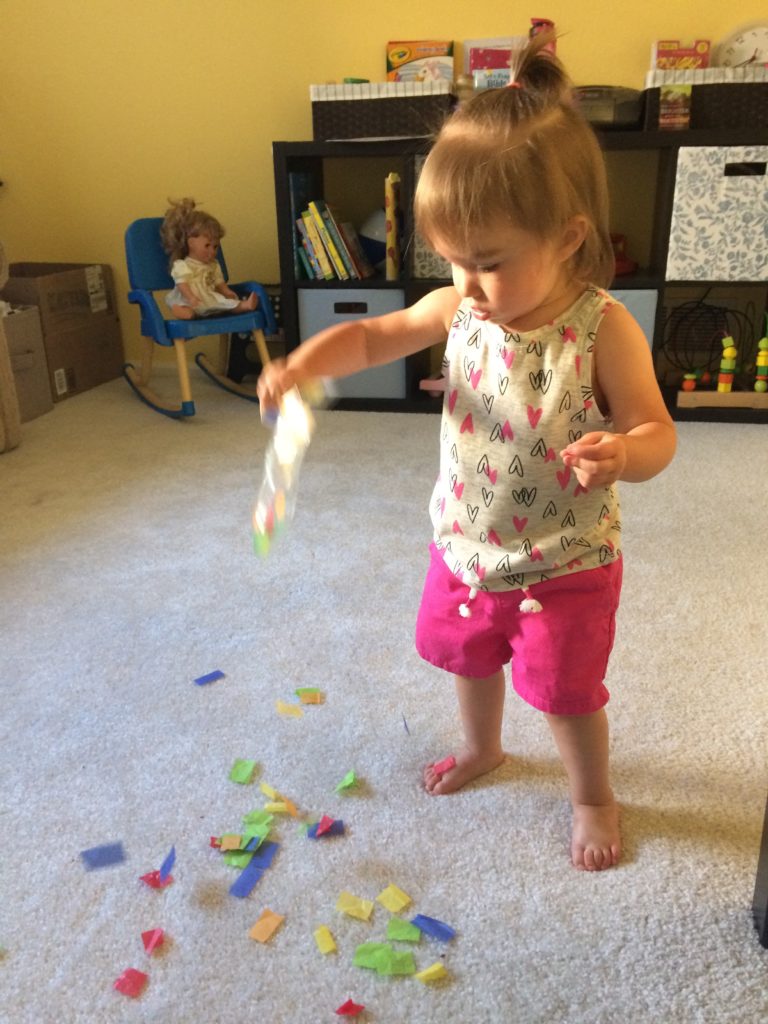
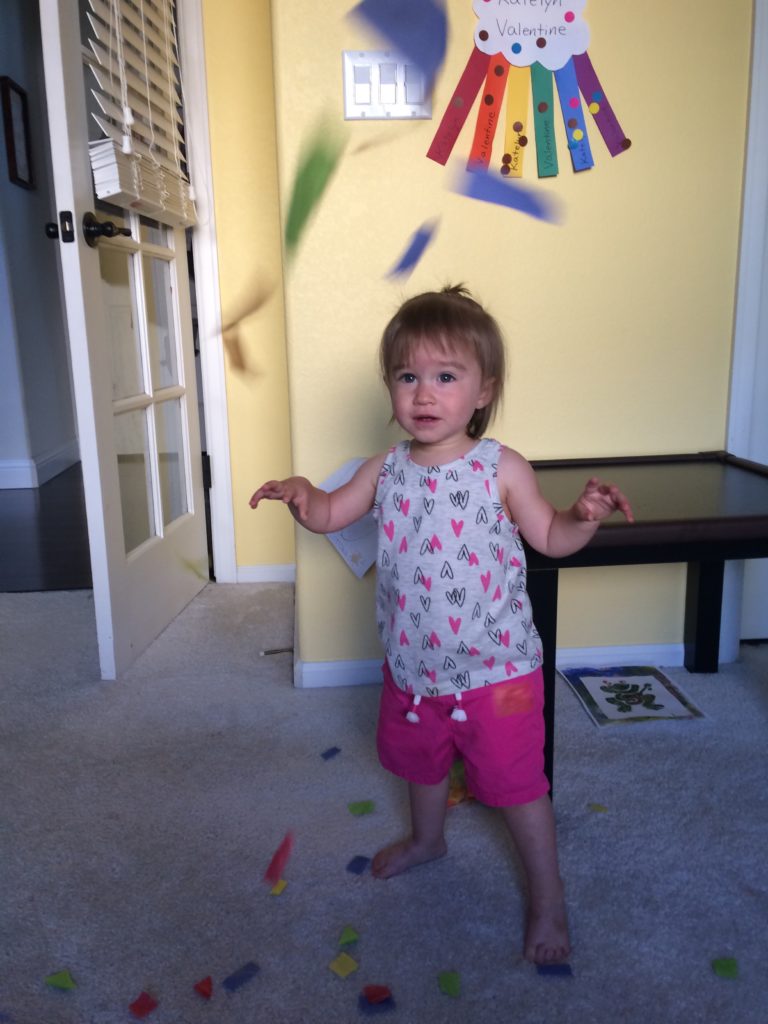
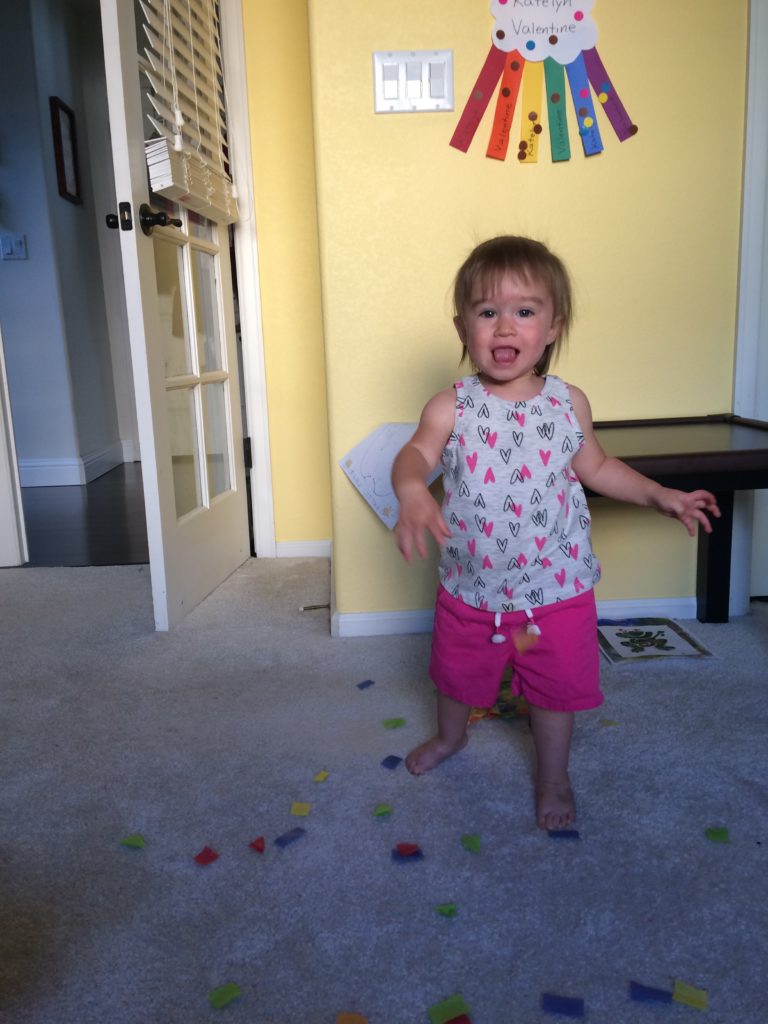
- At first, I didn’t think this lesson would lend itself to too much exploration because of the paint and the glue. But we had a bunch of tissue paper pieces left over, so I let Katelyn play with them. She had fun dumping them out and putting them back inside the bag. I also showed her how to make them float, and she was intrigued by that! Even our cat loved the floating tissue paper pieces and was chasing them. :)
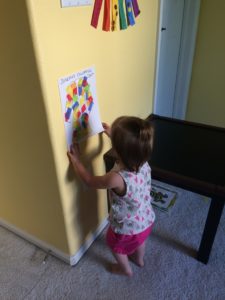
- Katelyn also wanted to hang her colorful coat on the wall, so I put two rolled up pieces of tape on the back for her. She had fun sticking it to the wall and taking it off again. Sometimes when I do a special craft or picture with her, I’m hesitant to give it to her to “play” with because I’m nervous she will just destroy it immediately. I guess it depends on the child, but I’ve found that Katelyn really enjoys getting to see and hold the things she’s made. It makes it more valuable to her and give her some ownership of it. And, I figure if she does destroy it, that’s ok. I think the exploration and experience is sometimes more important than protecting the final product.