

Day 3: God to the Rescue
*There are 4 activities for this day’s lesson. Feel free to choose one or two of the activities OR spread them out over several days! :)
- Materials:
- Bible (I like the NirV)
- Children’s Bible (I’m using the Jesus Storybook Bible for this lesson)
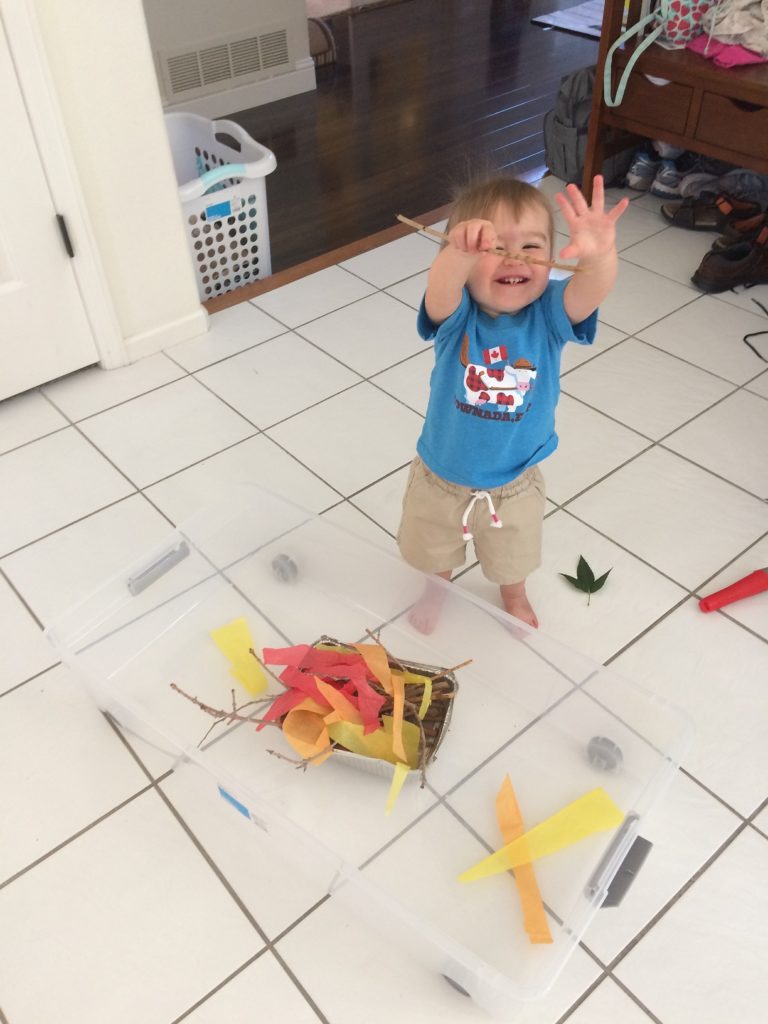
- Activity #1: basket, tub, or tin (to collect sticks and leaves in), sticks and leaves from outside (or pencils and fake leaves), strips of red, orange, and yellow tissue paper, flashlight
- Activity #2: candle (if you have one that crackles, that’s fun!)
- Activity #3: glass jar with lid, plate and fork, red and yellow food coloring, some kind of oil (we used vegetable oil)
- Activity #4: plastic animals, masking tape, and a cookie sheet
Day 3: Lesson and Activities: Open Bible to Exodus 3. Ask if child wants to touch God’s Word. Touch gently. Then, “read” the story. The ruler Pharaoh did not like God’s people. He hit them (smack hands together) and made them work hard (uh, uh – straining under something heavy). God’s people cried to God for help (arms up – help, help!). God listened. Hooray! (clap)
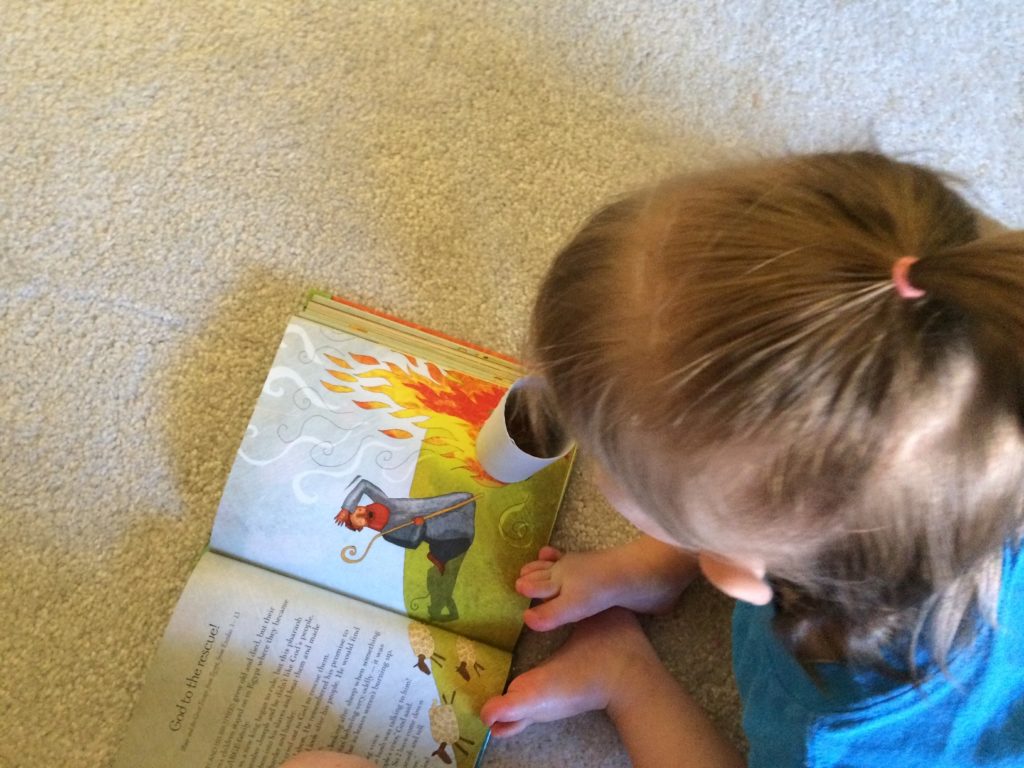
Children’s Bible reading: Peek through TP tube at Moses and burning bush – pg 85 in Jesus Storybook Bible. Sometimes we use a cut piece of TP tube so it’s shallower to peek through, but today we used a full TP tube! 1 Peter 5:7, He cares for you. He rescues you!
Song to be sung throughout lesson – variation of closing prayer song: (Tune: Are You Sleeping?) God is listening, God is listening when we pray, when we pray. He will come to help us, He will come to help us. Yay, God! Hooray! Yay, God! Hooray!
Activity #1:
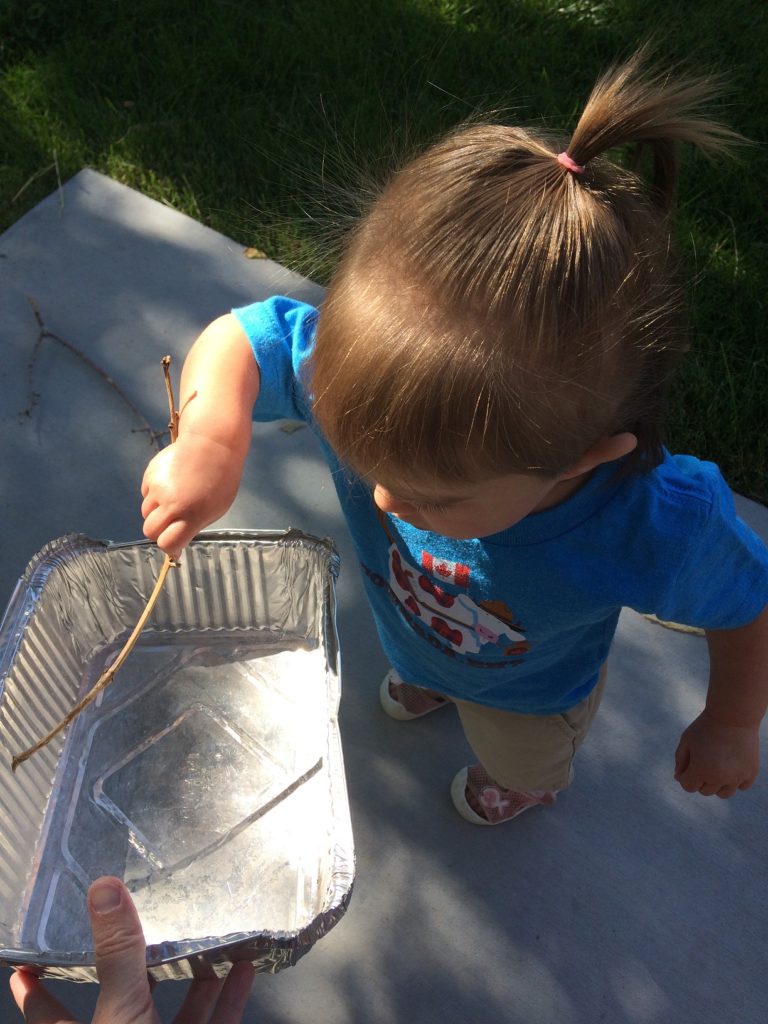
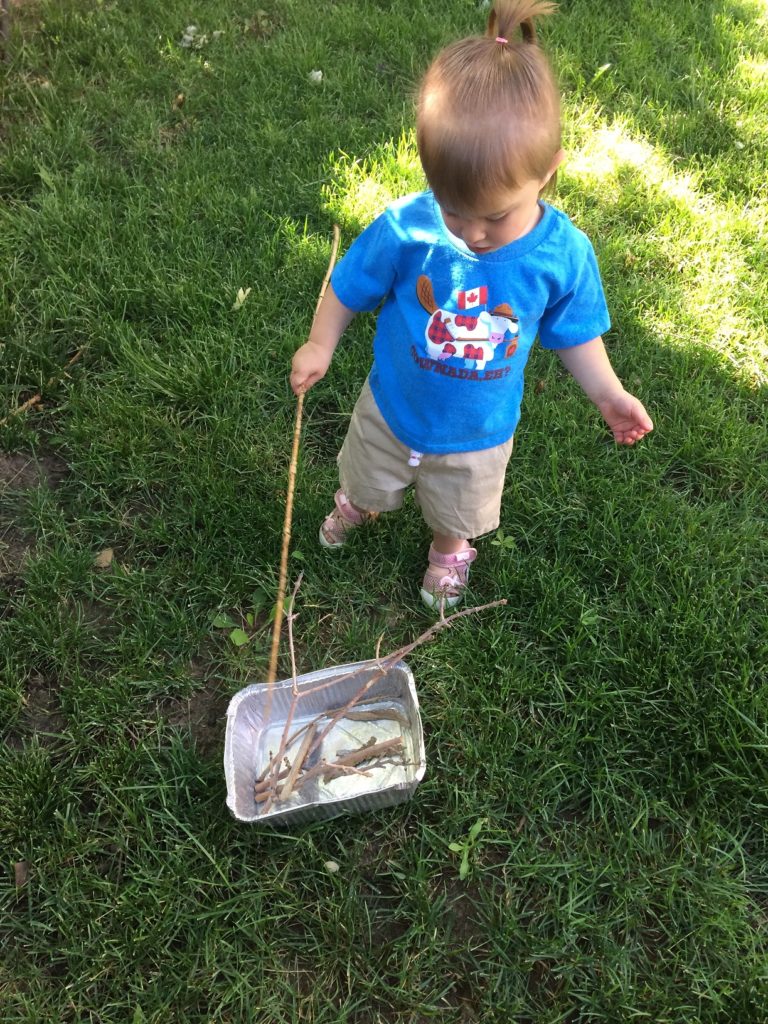
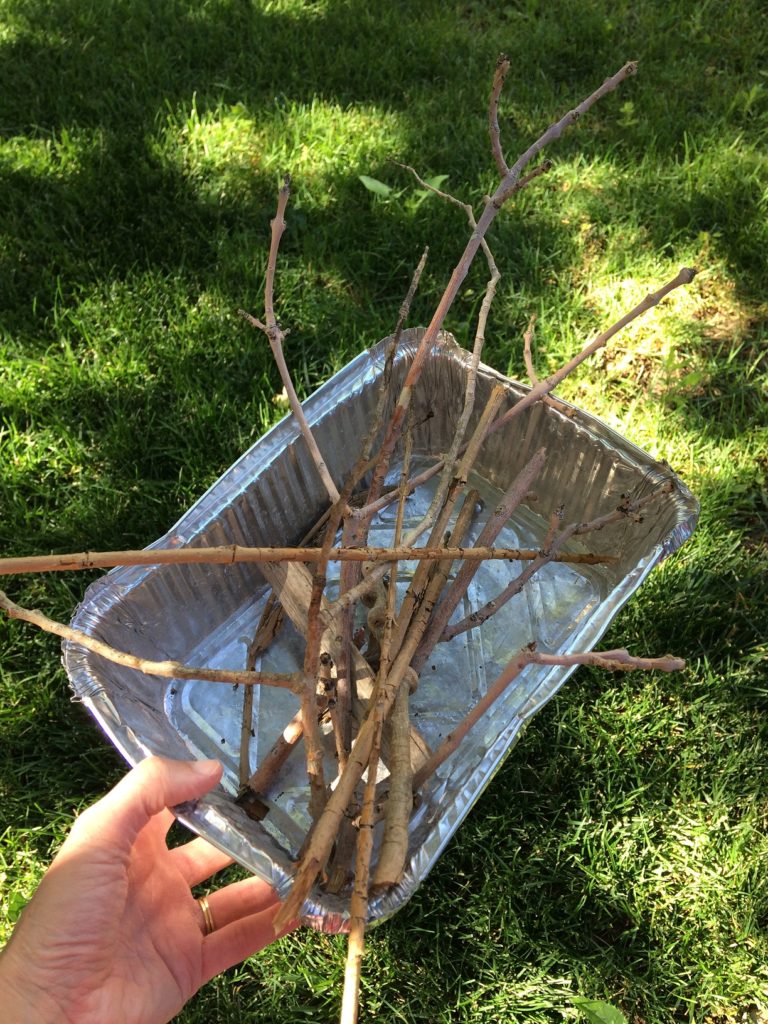
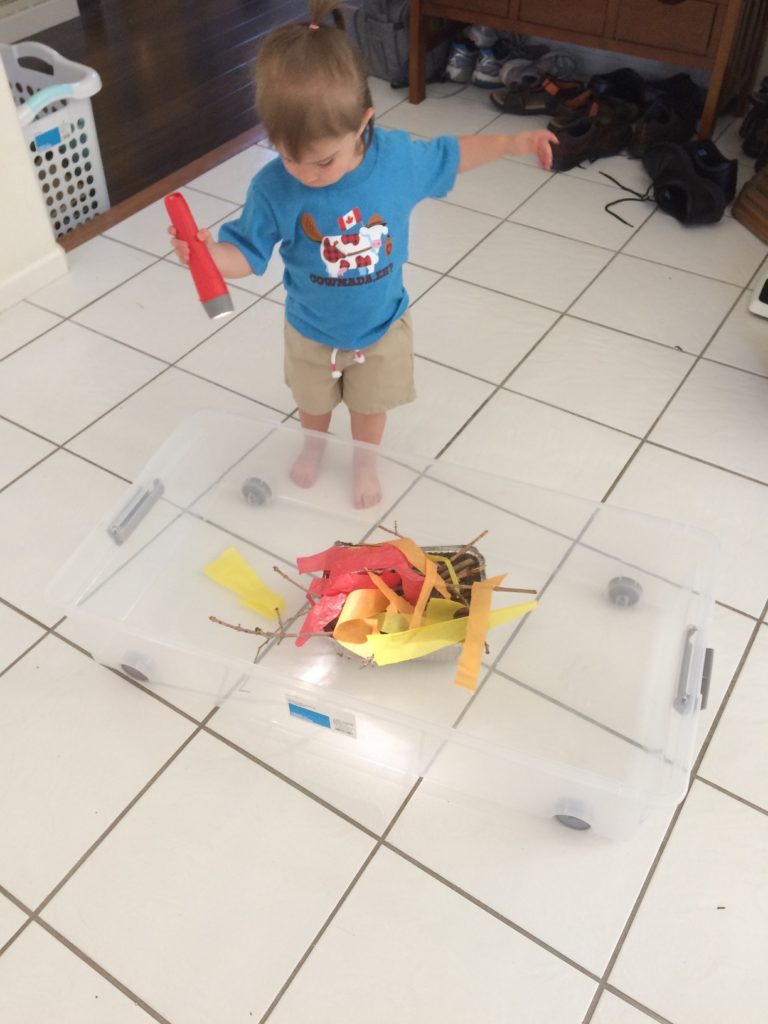
- Sing while you gather sticks and leaves outside. (Or you can use pencils and fake leaves and collect them inside.) Pile sticks together in container to make a “bush.”
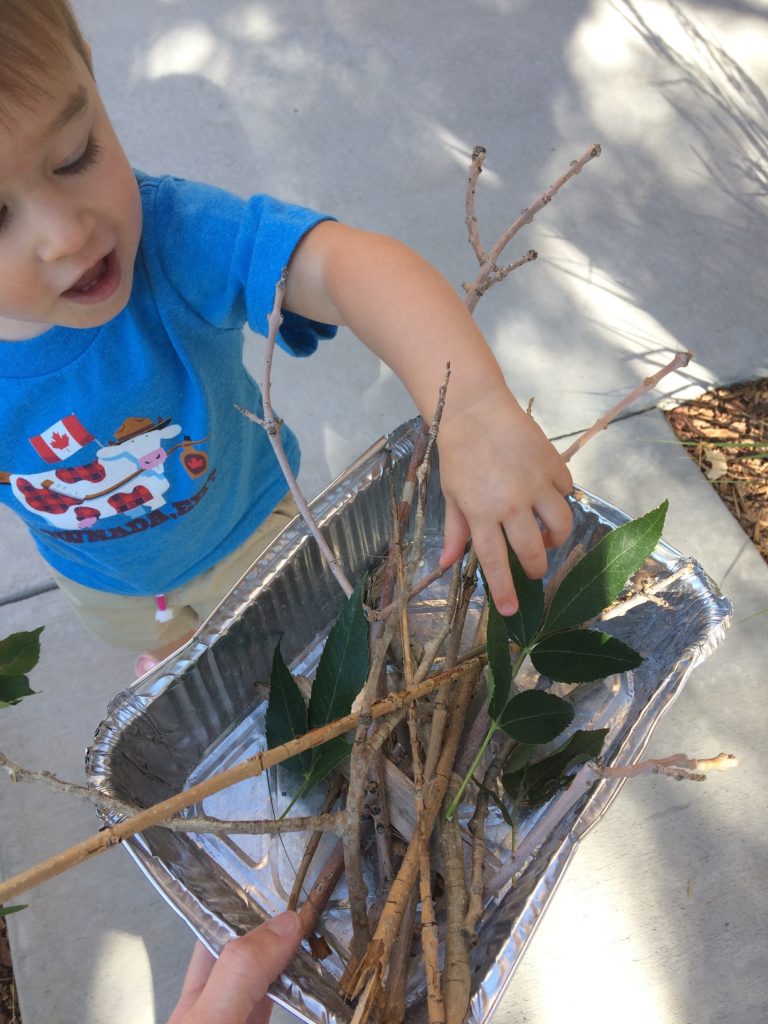
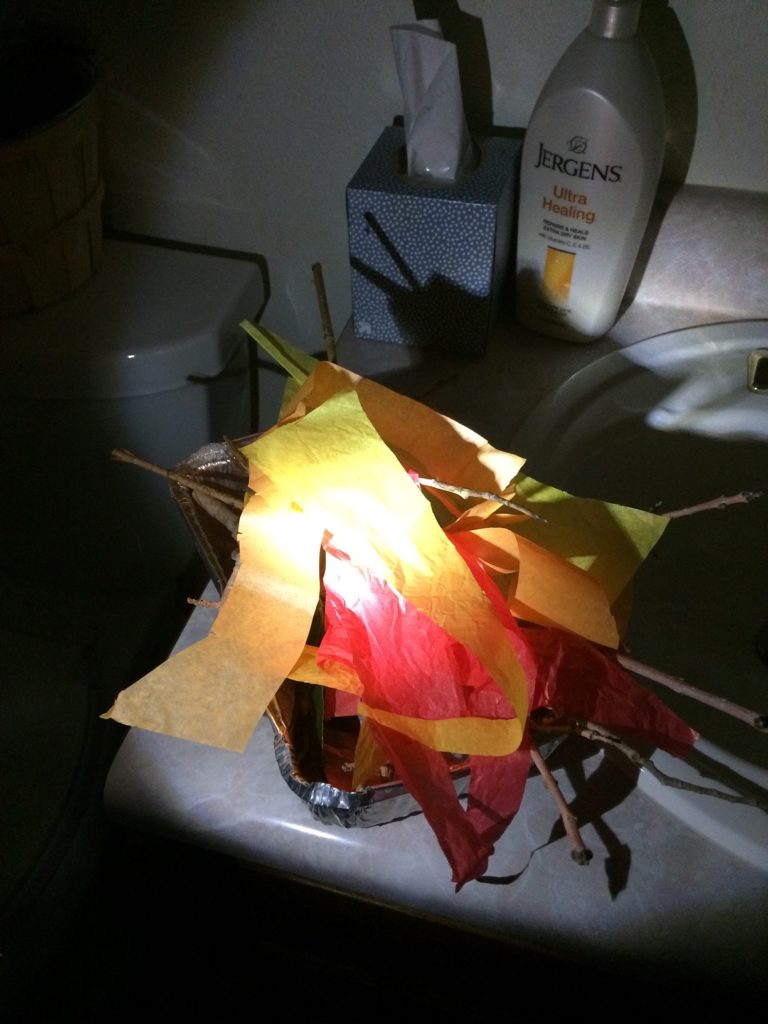
- Bring the “bush” into a room you can make semi-dark (we used a bathroom). Put tissue paper strips on top and shine a flashlight on it. It’s a fire! Make crackling and popping noises.
- God spoke to Moses through a burning bush! God said he would help Moses to rescue His people, the Israelites!
- Sing God is listening song again.
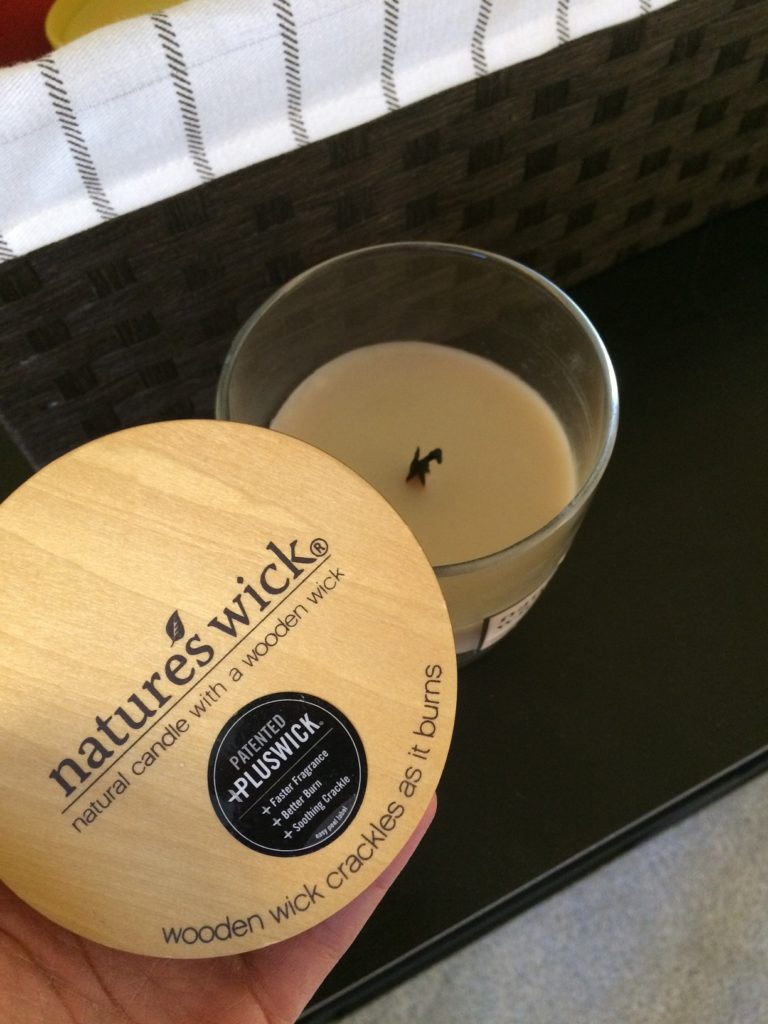
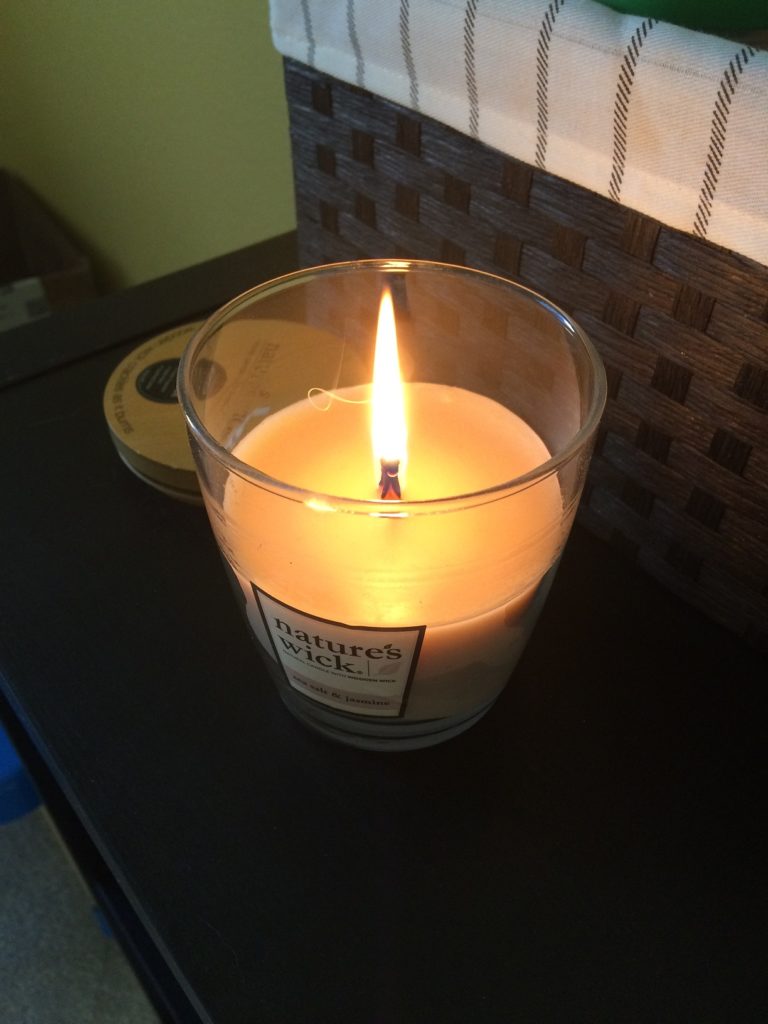
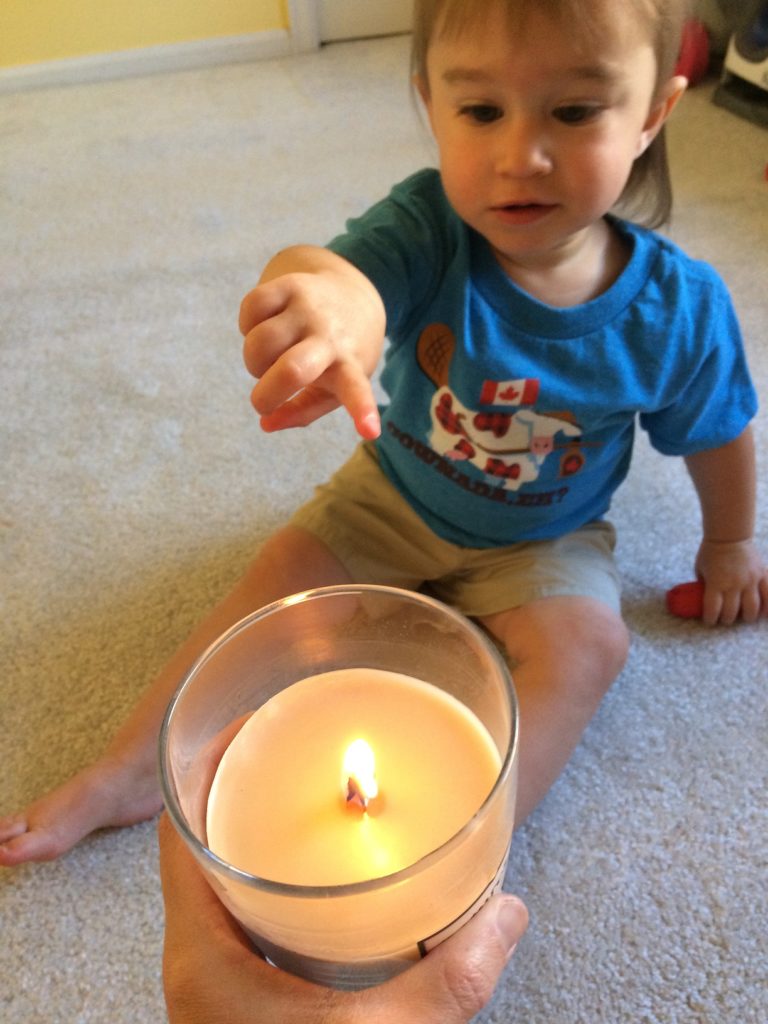
Activity #2: Light a candle and see it flicker. We have a wooden wick candle that crackles like a real fire! Talk about how God spoke to Moses through a burning bush. God was going to use Moses to help rescue the people!
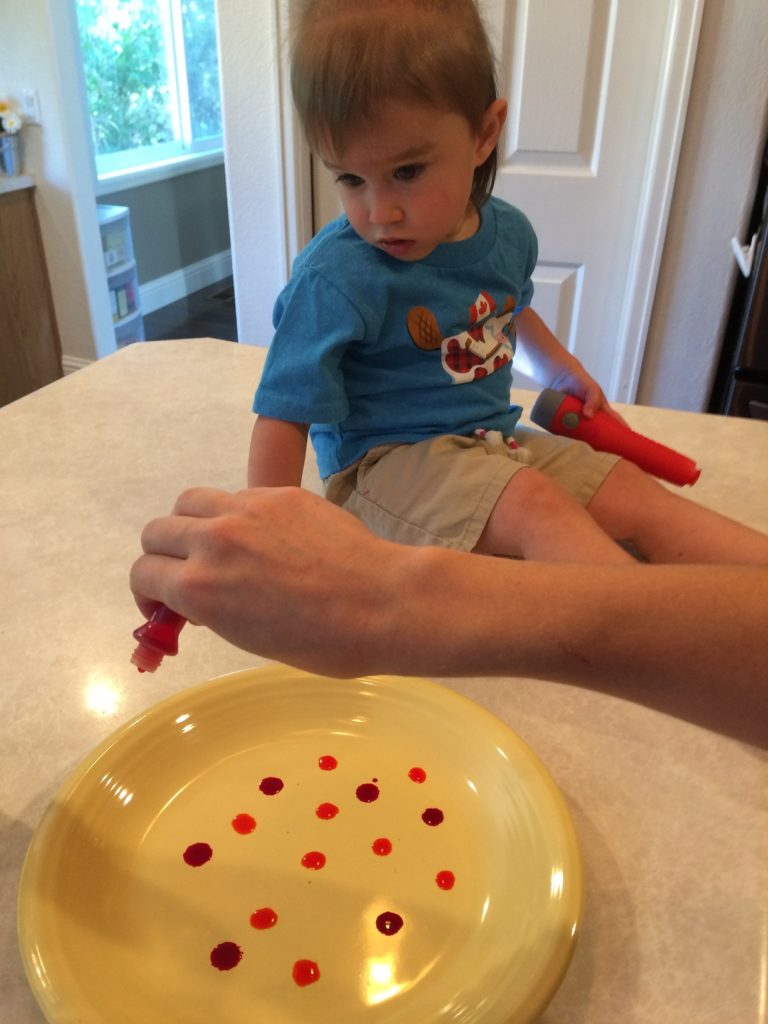
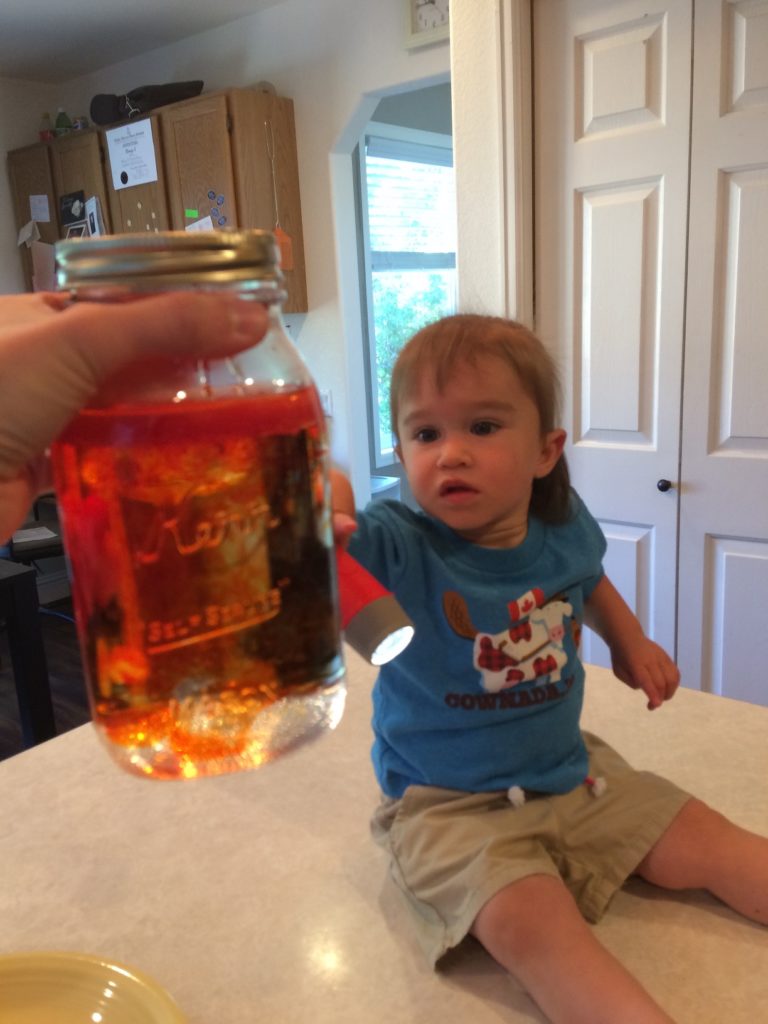
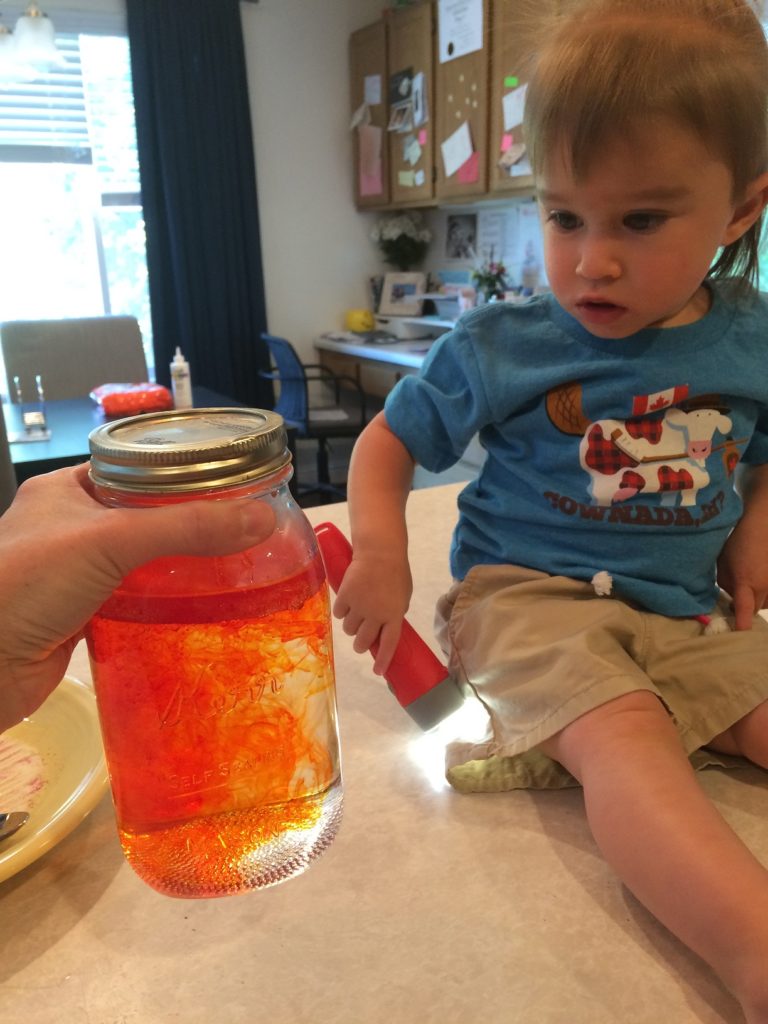
Activity #3: Make a “fire” in a jar!
- Place 3-4 drops of red food coloring and 3-4 drops of yellow food coloring on a plate. We used too much food coloring, so our “fire” mixed together too quickly.
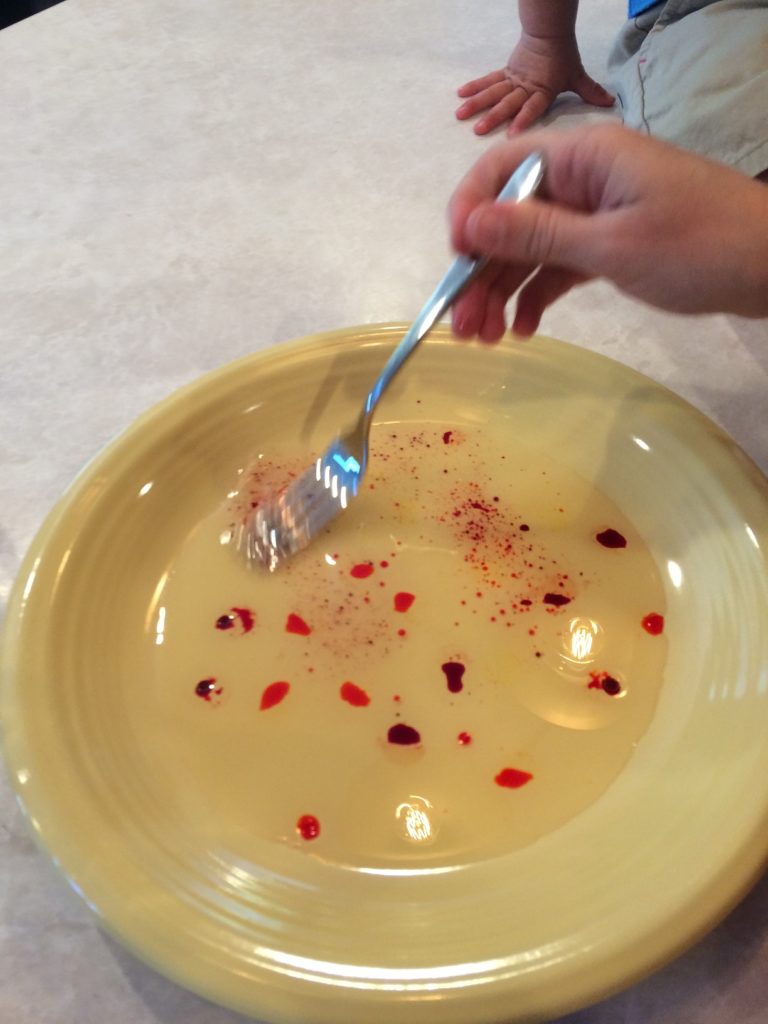
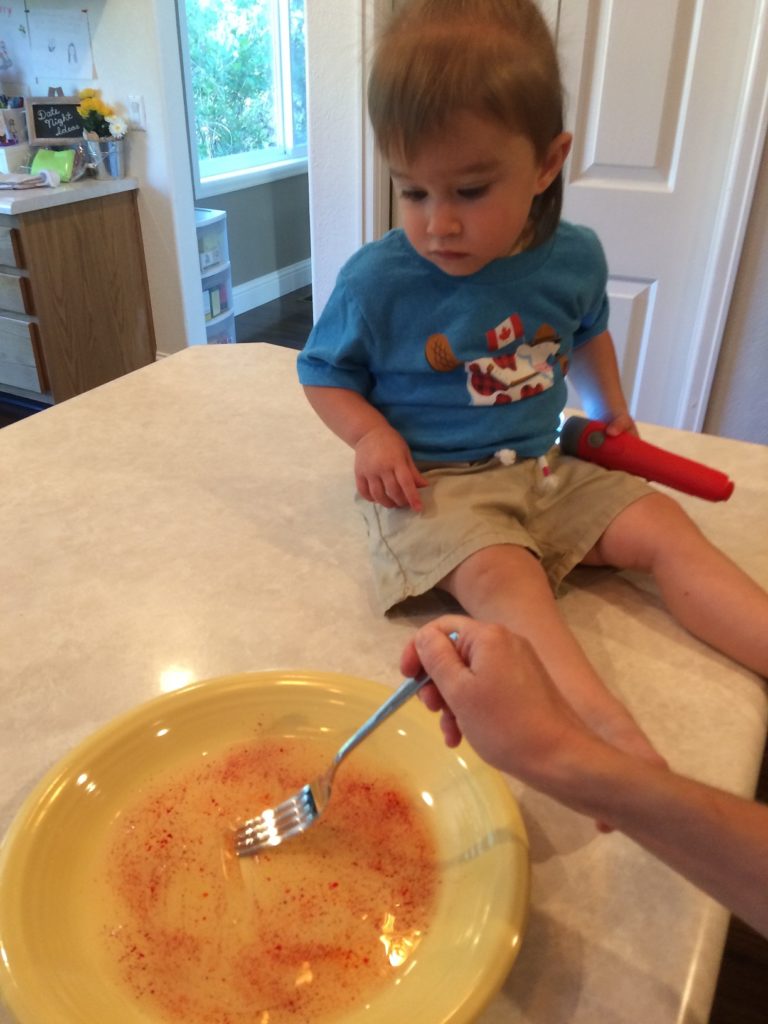
- Place 3-4 Tablespoons of oil on top of the food coloring and mix with a fork. The food coloring will break apart into tiny bits in the oil.
- Fill a jar ¾ full with warm water.
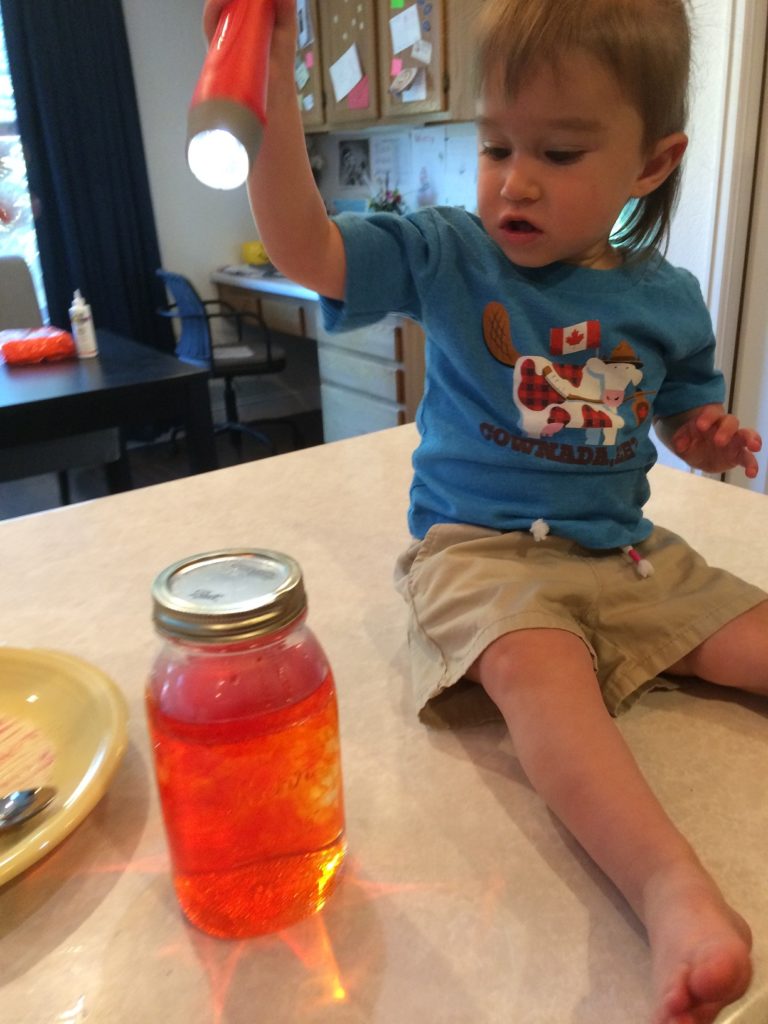
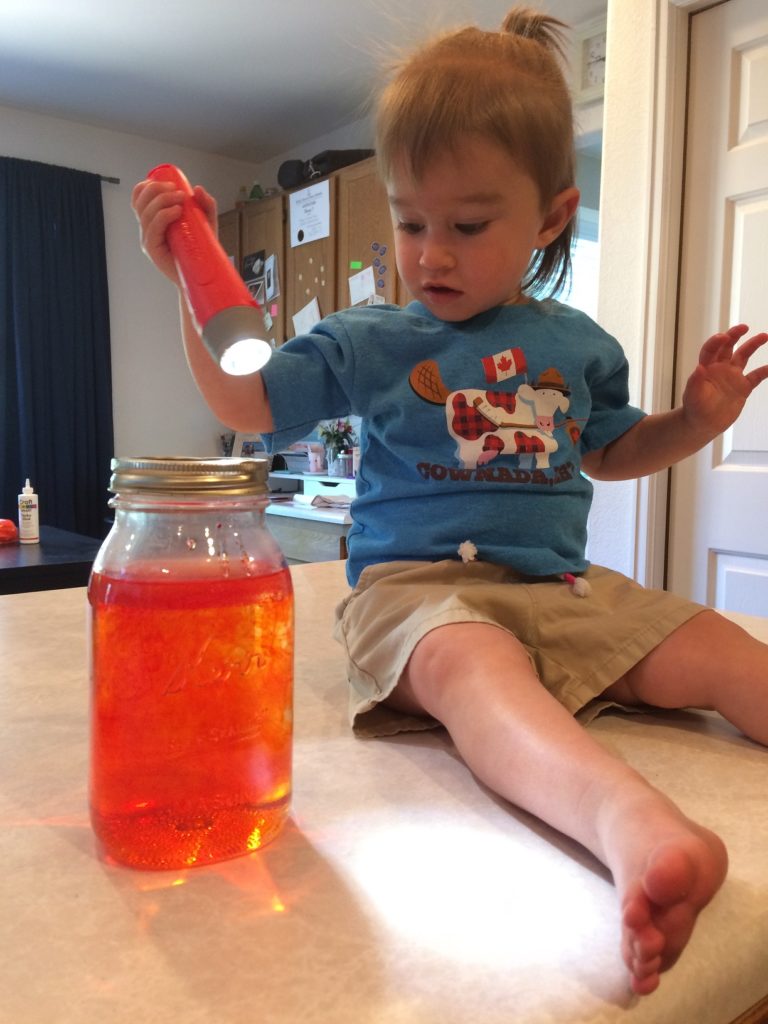
- Pour the food colored oil into the jar and watch the “fire” inside the water! Katelyn was still playing with the flashlight, and the light had a cool effect with the food coloring “fire”!
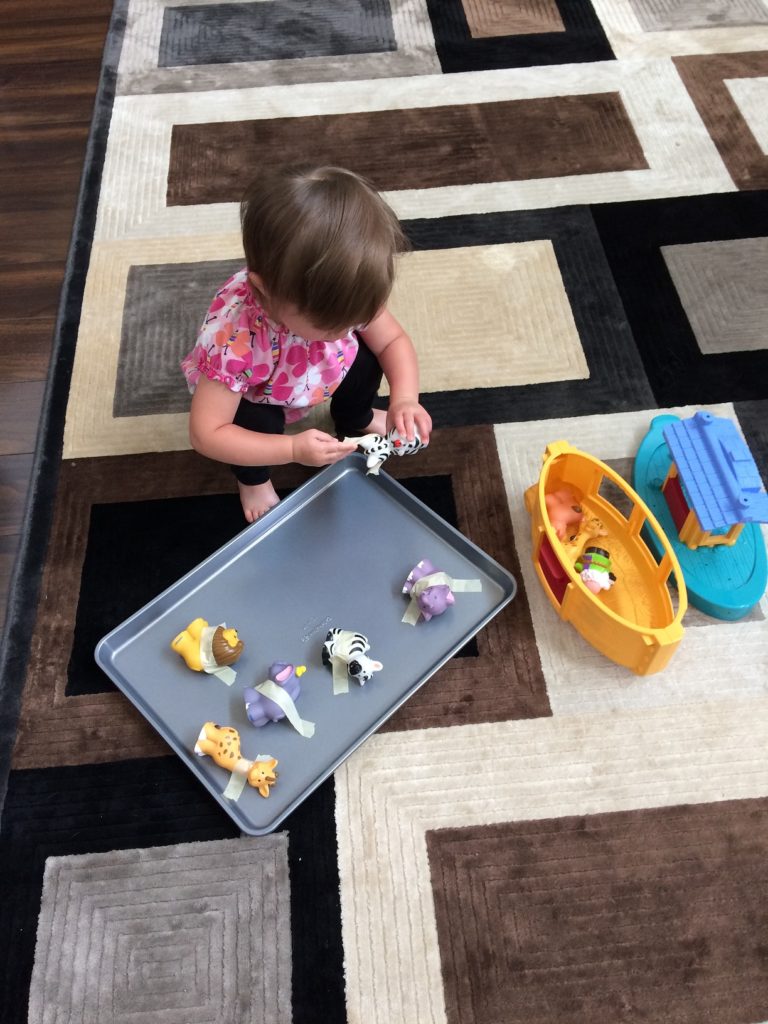
Activity #4:
- Prep: Tape plastic animal toys to a cookie sheet with masking tape.
- God, our Rescuer! Listen to Rescuer (Good News) by Rend Collective (video below). Dance and sing!
- I ended up forgetting to do this part of the lesson, and we did it separately another day. While the song was playing, Katelyn pulled out an activity I had set up for her that she hadn’t finished – animal rescue – and she ended up doing it during the song! It was perfect! She rescued the animals as we listened to the song about God our Rescuer. :)
Closing: 1 Peter 5:7, He cares for you. He rescues you!
- Child-led Exploration:
- Katelyn carried around the flashlight for the entire rest of the lesson once we had used it in the tissue paper “bush” fire.
- After the lesson, I placed her tissue paper “bush” fire in a larger tub so she could play with the sticks, leaves, and tissue paper – less mess to clean up off the floor with it mostly contained in the large tub.
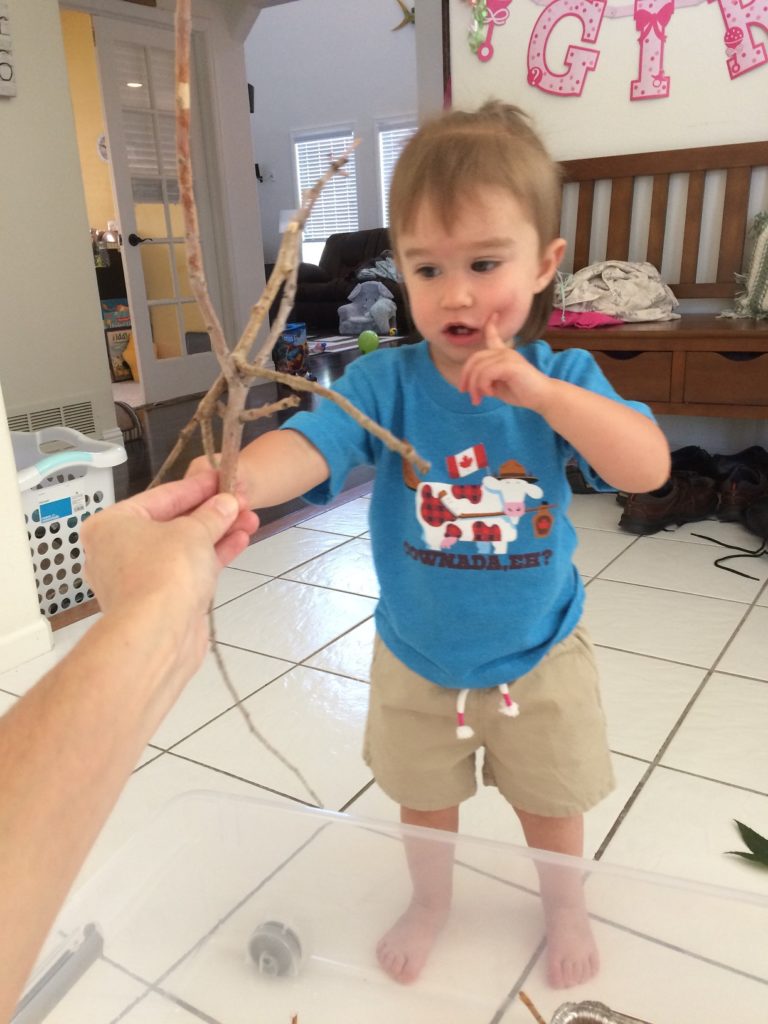
- In retrospect, I think I should have let her handle and play with the sticks and leaves more outside before we made the “fire” inside. She was pretty upset that I was keeping the “bush” away from her to keep going with the lesson. Toddlers are very hands on and love to experiment with materials. Also, they don’t like it if you have to take something away from them! ;)

A note about Parent-led and Child-led Exploration: I think both are valuable. Children, especially toddlers, are learning so much about the world around them. Everything is new and exciting. It’s important for them to watch and learn from adults, but exploring in their own way is also very beneficial for them. They like to touch things, feel things, throw things, etc. to see what happens.
In every lesson I want to have some materials we use to be safe enough for Katelyn to be able to experiment in her own way. Some materials of the lesson are definitely not safe, for example the lit candle, so that part of the lesson needs to be parent-led only. Some of the activities are pretty messy – like the “fire” in a jar from today’s lesson. If I wanted to, I could put on her swimsuit and take her outside to let her get messy with those materials. But today I felt that her playing with the sticks, leaves, tissue paper, and flashlight were sufficient (and easier for me). :)
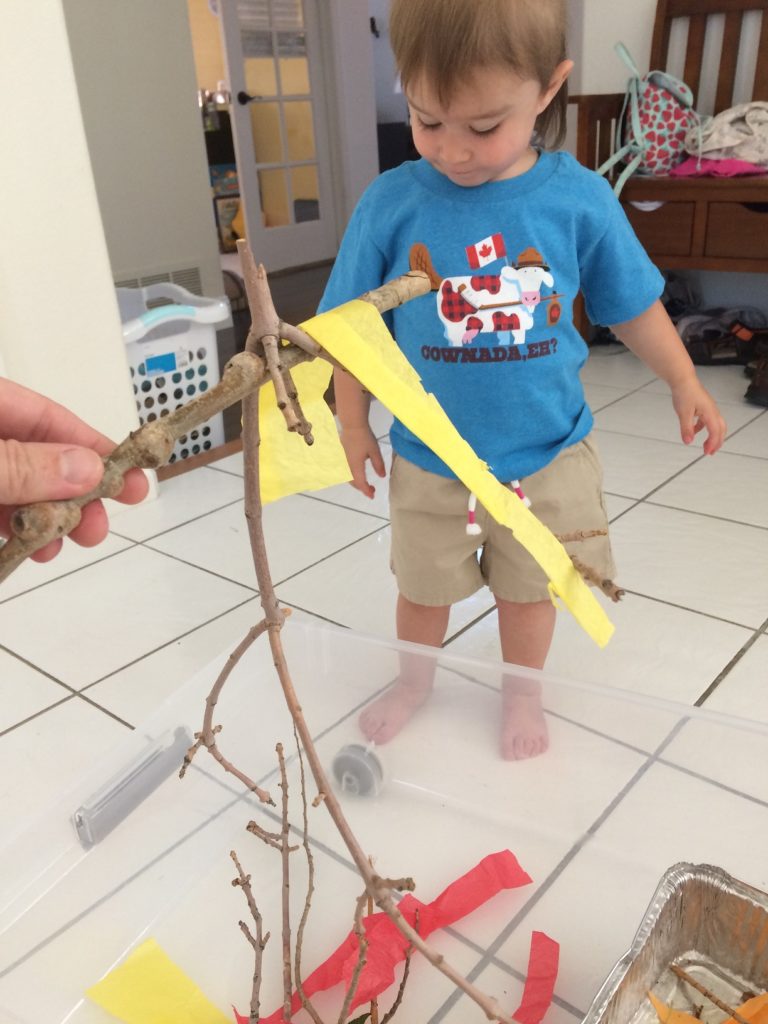
I’d also like to note that even though I was letting her play how she wanted, I still got right down there with her and experimented, too! I showed her how we could hook the sticks together to make them balance – and how we could drape the tissue paper on the sticks to see them hang there. Experimenting together is a valuable experience!